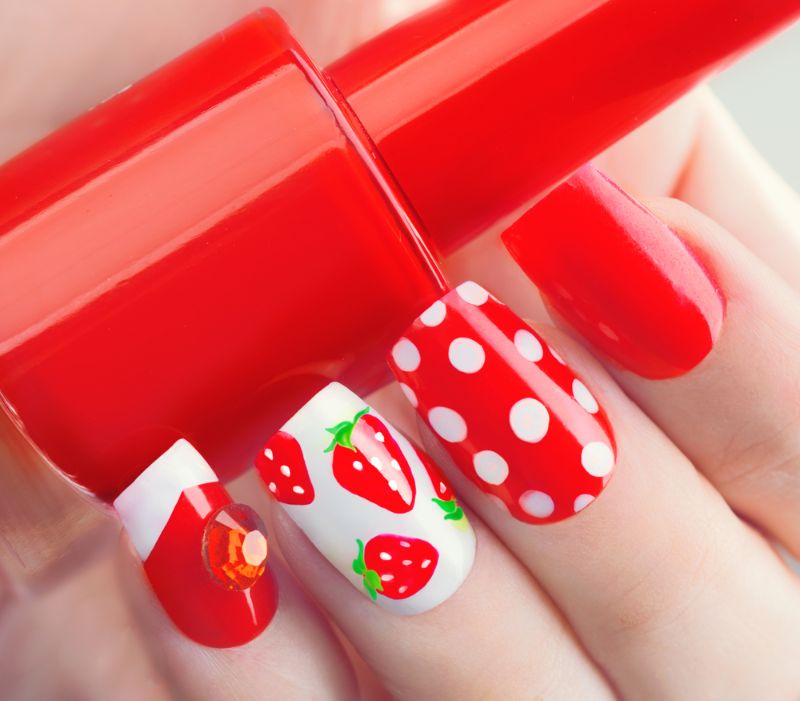

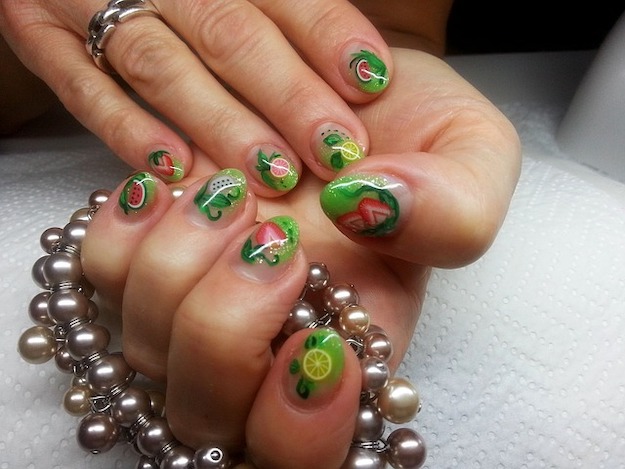
This strawberry nail art design is the answer to all dessert lovers’ dreams! It looks so good, it’s almost good enough to eat!
This Strawberry Nail Art Will Have You Licking Your Fingers
If you’ve got a sweet tooth and you want to put it on your nails, then you’ve come to the right place! This strawberry nail art is so delicious-looking it’s almost good enough to eat! Any dessert-loving girl would love to have ’em! Among all the fruity designs that I know, the strawberry nail art is what attracts me the most. It’s super cute, and it’s just so me! Plus, who wouldn’t love strawberries, right? This cute design is perfect for Valentine’s Day as well!
WHAT YOU’LL NEED:
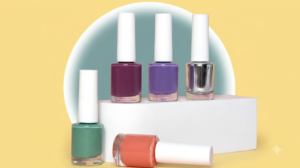
- Zoya Anchor Base Coat
- Essie Fifth Avenue
- Nicole by OPI One Time Lime
- Sally Hansen Triple Shine Lemon Shark
- OPI A-piers To Be Tan
- Color Club On Cloud Nine
- Essie Good To Go Top Coat
Step 1: Proper Prepping
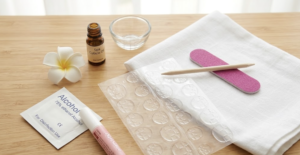
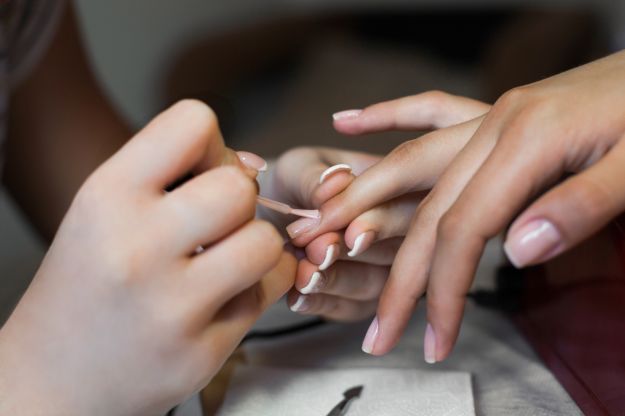
Start by painting all of your nails with a base coat. This will help protect your natural nails from weakening. Before all that, however, always make sure you follow the right way to prep your nails before anything else. This hacks list will give you some tips and trips on how to take better care of your nails, prior to and after every manicure.
Step 2: Berry Red Base
Get your red polish and apply it to your nails to achieve that striking red strawberry color. The brighter the shade is, the better! Tip: Red polishes are almost always opaque, so you may only need just one coat to get the coverage you want.
Step 3: Leafy Crown
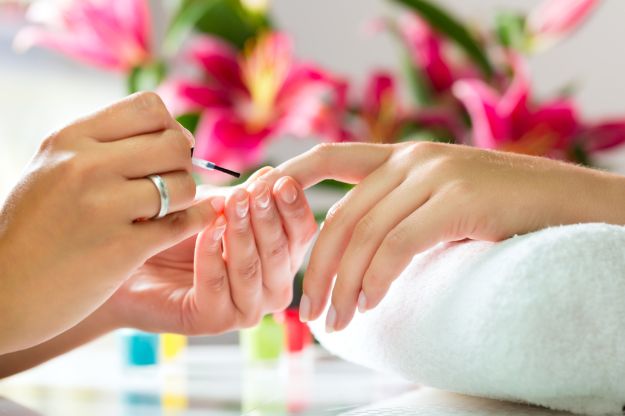
Once your red base is completely dry, you can start painting the leafy part of your strawberry. Using a toothpick or a thin striper, draw a zigzag near your cuticle. Then fill it all in!
Step 4: Strawberry Seeds
Now it’s time for a bright yellow polish. Use this to add small random dots over the red base to make the seeds. Here’s a tip: don’t let the dots be the same size to make the strawberry look more realistic!
Step 5: Choco Dip
It’s now time to dip it into chocolate. Just kidding! Choose a chocolate brown polish and paint the tip of your nail with it. Do this perfectly by slowly turning your nail from one side to other as you brush the polish on the tip of your nail. Give that a couple of minutes to dry.
Step 6: Make It Glossy
If you want to have that sort of 3D effect to be prominent, apply a topcoat! You can use a glossy one or a fast drying one if you’re a bit impatient like me. Wait for it to dry before diving into my favorite part of this tutorial!
Step 7: Vanilla Stripes
Dip a toothpick in white polish and drag it out across the “chocolate dip.” They don’t have to be straight lines. In fact, the more crooked they are, the better!
And that’s it! Just give it some time to dry and you will have a super cute mani that’s 3D and good enough to lick off your fingers!
You can watch the full strawberry nail art video tutorial below:
Didn’t that make you crave strawberries dipped in chocolate? I’m sure everyone will love your super cute nails!
Try this yummy strawberry nail art on your nails, and don’t forget to share it with us! Share to us how it went by leaving a comment down below! Happy painting!
Want to try your hand at another delicious fruit nail art design? Try this fun watermelon nail design that I created!