
Late summer brings softer sunlight and the last colorful blooms in gardens and parks. Floral nail designs reflect this seasonal shift and echo what you see outdoors. Instead of looking overdone, flower motifs can feel subtle or bold depending on the design and colors you choose.
Floral art works on every nail length. Tiny wildflowers suit short nails. Larger blooms and trailing leaves complement longer shapes well. You don’t need a salon visit. All you need is a steady hand and a little inspiration from what’s growing around you.
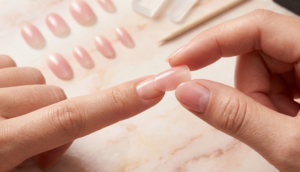
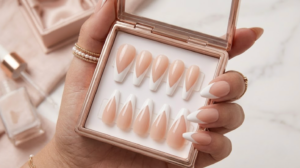
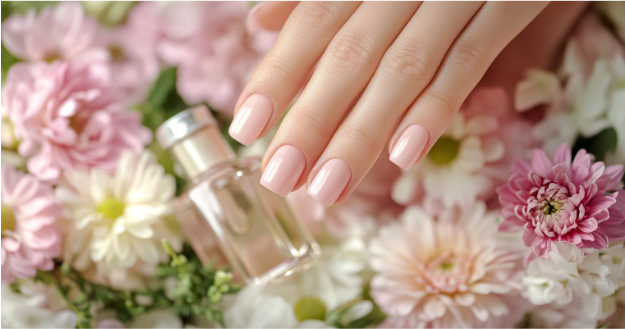
Beginner-Friendly Floral Nail Art Ideas
Basic nail art tools can create clear and recognizable floral patterns. Dots form the petals and centers of daisies and wildflowers. Thin lines painted with a small brush can be used for branches or stems. The following three designs use straightforward techniques and minimal materials, making them accessible for anyone trying floral nail art for the first time.
Classic Daisy
Dot-based flowers make floral nail art approachable for anyone. The daisy shape stands out on any base and helps you practice placement and spacing.
- Paint nails with a base color such as pale pink or sky blue.
- Use a dotting tool or bobby pin to make five white dots in a circle.
- Place a yellow dot in the center of each flower.
- Finish with a clear top coat.
Cherry Blossom Branch
Curved lines and dots mimic a blooming branch, guiding the eye along the nail. This arrangement breaks up empty space and creates the effect of natural growth.
- Start with a nude or sheer pink base.
- Draw a simple curved line with brown polish using a thin brush.
- Add small pink dots along the branch to create clusters of blossoms.
- Place a white dot inside each blossom.
- Seal with a top coat.
Tiny Wildflowers
Multi-colored clusters resemble a patch of wildflowers scattered in grass. Random placement and mixed colors keep the look natural and lively.
- Paint nails with a light green or blue base.
- Create small clusters of dots in colors such as purple, yellow, white, or blue.
- Add short green lines or dots for leaves with a fine brush.
- Top with a clear coat.
For more step-by-step ideas, visit Nails Magazine.
Intermediate Floral Nail Designs: Ideas to Build Skill
Once you’ve mastered basic floral shapes, adding details can bring more dimension and interest to your nails. Consider these techniques:
- Layer colors by painting lighter petals first, then adding darker shades or shadows on top to create depth. Use metallic polish on petal edges or centers to make flowers catch the light and stand out.
- Paint thin green vines across multiple nails to connect designs and create a flowing look. Cluster small flowers in one area to fill space without overwhelming the nail.
- Leave parts of the nail bare for negative space, adding contrast to your design.
To keep lines sharp and clean, apply polish in thin layers and allow each to dry before continuing. Use a small brush dipped in remover to tidy stray marks near cuticles.
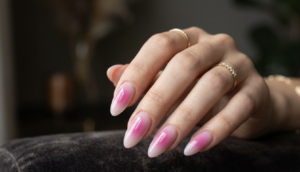
Seasonal Color Choices and Garden Inspiration
Late summer calls for colors that capture the gentle shift from the bright heat of summer to the cooler days ahead. Warm shades like sun-washed coral, muted peach, and pale yellow bring softness to your nails. Adding leafy greens and sage grounds your look, while lavender and soft blue add fresh contrast.
To highlight these colors, focus on garden-inspired details such as tiny leaves, delicate vines, or clusters of wildflowers. Using a neutral or sheer base allows your floral art to stand out clearly without looking busy.
Try mixing two or three colors in one manicure. Paint different flowers on each nail or combine petals and leaves across your hand for a layered, natural effect.
Styling Floral Nails for Daily Life
Floral nail designs work for many occasions. For everyday looks, try a single flower on one or two nails. This adds subtle detail without being flashy. On weekends or casual outings, a full floral manicure creates a fun and eye-catching look that complements relaxed outfits.
For special events, hand-painted flowers can be more detailed. In the office, small flowers on a neutral base keep nails professional but interesting.
Remember: Short nails suit simple designs. Longer nails allow for larger patterns and more intricate details. Both natural and acrylic nails show floral art well.
Try Floral Nail Designs Before Summer Ends
Floral nail designs offer a practical way to refresh your style as summer draws to a close. These designs work well for all nail lengths and skill levels, from simple single-flower accents to intricate hand-painted bouquets. Flowers add color, texture, and a natural vibe that suits both casual and formal settings.
Trying floral nails does not require professional skills or expensive tools. Starting with basic shapes and colors, you can build confidence and develop your own style over time. Experiment with seasonal colors and different flower types to keep your nails interesting.
If you’ve already tried floral designs, share your favorite styles or tips in the comments below. New to floral nails? Ask questions or post photos of your attempts. Your experiences can inspire others in the community.
FAQs
Q: Do floral nail designs work on short nails?
A: Yes. Simple flowers and dots look great on short nails and can make them appear more elegant.
Q: What tools do I need for basic floral nail art?
A: A dotting tool or bobby pin, a fine nail art brush, a few polish colors, and a clear top coat are enough to get started.
Q: How do I make floral nail designs last longer?
A: Use a good base coat, apply thin polish layers, seal with a top coat, and avoid activities that chip polish.
Q: Can I use floral nail designs for professional settings?
A: Yes. Opt for small, subtle flowers on neutral bases for a polished look that suits work environments.
Q: What are some easy floral nail designs for beginners?
A: Classic daisies, cherry blossom branches, and tiny wildflower clusters are beginner-friendly and straightforward designs.