
When it comes to looking your best at parties, a gorgeous rhinestone nail art is the best manicure to have! With some eye-catching nail gem on your nails, you won’t need any other accessory on your wrist! Check out this awesome tutorial for your next party.
Rhinestone Nail Art Tutorial Perfect For Your Next Party
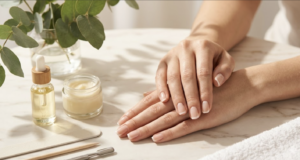
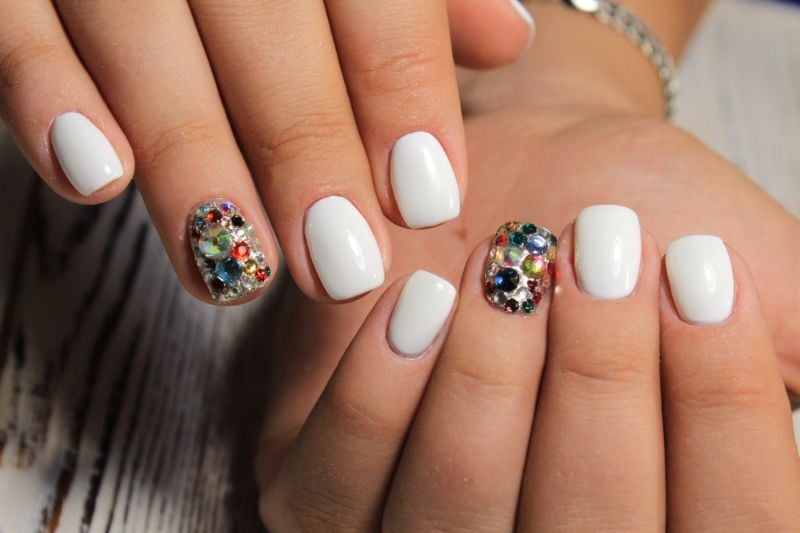
They say diamonds are a girl’s best friend. But since it’s a bit beyond my budget, I’ll just settle for sparkly rhinestones on my nails instead. They may not be real diamonds but if arranged and used correctly then you can sport gorgeous nails like the Kardashians!
You can use different colors for your base but I personally love using white and silver glitter. It’s perfect for classy parties and even pretty enough for weddings and such.
Let me show just how beautiful rhinestone nail art is! See the tutorial below.
What you’ll need for this fabulous rhinestone nail art tutorial:
- Rhinestones
- Glitter powder
- OPI Alpine Snow
- Revlon 2-in-1 Base and Topcoat
- Orangewood stick
- Q-tips
- Acetone
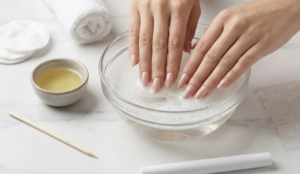
Step 1: White Base
It’s better to create this design on acrylic nails. This way, you can apply the gems better, especially if you’re doing this on your own. You can stick the nails on an orangewood stick using some putty. To start off, paint all the nails white for the base. We’ll be putting rhinestones on four nails, your thumbs and ring fingers. Paint a second coating of the white base on the six other nails.
[amazon box=”B008CJ6R4E”]
Step 2: Glitter Shower
Now that all your nails have a base polish, apply a thin coating of topcoat. While it’s still wet, use a fan brush to sprinkle silver (or holo) glitter on each nail. Do this one nail at a time. If you apply topcoat on all the nails at once, they might dry up before you can add the glitter.
Step 3: Bling Out
Now you’re ready to bling your nails out! Use a Q-tip to hold the rhinestones when you put them on the thumbnail. How do you paste on the crystals? Topcoat, of course! However, don’t apply it all over the nails, dab it on the spot where you want to add your crystal instead.
Apply this on the thumbnails and ring fingernails. Afterward, use a Q-tip dipped in acetone to rub off any excess clear polish on the crystals. This will also help them shine more.
[amazon box=”B00HQALSEE”]
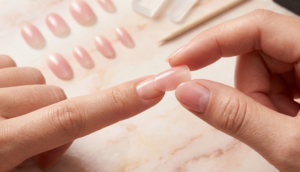
Step 4: V French Tip
Now that you’ve finished with the rhinestone nail art on the four fingers, you can start working on the others.
Apply topcoat on all six nails to seal in the glitter polish. Then, use the white polish you used earlier to create a V French tip. Make sure that they’re proportional and evenly painted on.
Step 5: Crystal Dip
Once you’ve finished your V French tip, dab some of the topcoat on the lowest dip of the V French tip and add one crystal. Top off the design with topcoat as well. Repeat on all the remaining five nails!
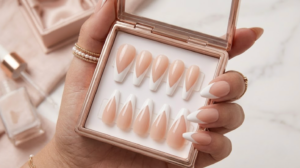
Voila! Aren’t they spectacular?
Did you love this rhinestone nail art? Watch the full tutorial from Absolute Nails below!
All you have to do now is attach these babies on your nails to complete your party outfit. Everyone will be gushing over this rhinestone nail art, I’m sure of it! If you want, you can change the color scheme to red, black or pink. Once you’ve got the nail gem style down pat, go crazy on your designs! Just don’t forget to share it with me in the comments section below!
Want more nail gem designs for future use? Check out this nail gems list next!
This lace dress from Mason & Ivy would look great with your new bling nails, don’t you think?