Bring out your inner goddess with an awesome Egyptian nail art! Find out how to make them yourself with this tutorial.
Classy Egyptian Nail Art Tutorial For Your Night Out
This chic Egyptian nail art tutorial only looks complicated but it’s super easy to do! Bring out your favorite gold and black polish and follow this tutorial to recreate this edgy manicure! I’ve been sporting the Egyptian nail art for special events and it never failed to amaze my friends. I want you to get the same attention so here’s a tutorial I made for you ladies!
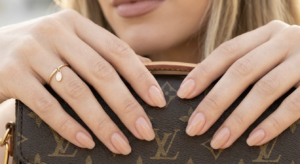
Whether you’re going on a date or a girl’s night out, this Egyptian nail art is the perfect go-to manicure for you. Put on your favorite black dress, sexy heels, and gold accessories and you’re ready to party!
What you need for this chic Egyptian nail art design:
- essie Nail Color Polish, Spin The Bottle
- OPI Nail Polish, Black Onyx
- Sally Hansen Insta-Dri Fast Dry Nail Color, Go For Gold
- Striping tape
- PUEEN Latex Tape Peel Off
- Tweezers
- Sally Hansen Double Duty Base and Top Coat
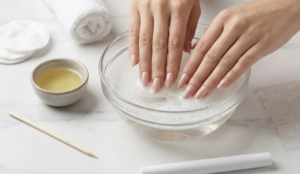
Step 1: Prevent Spills
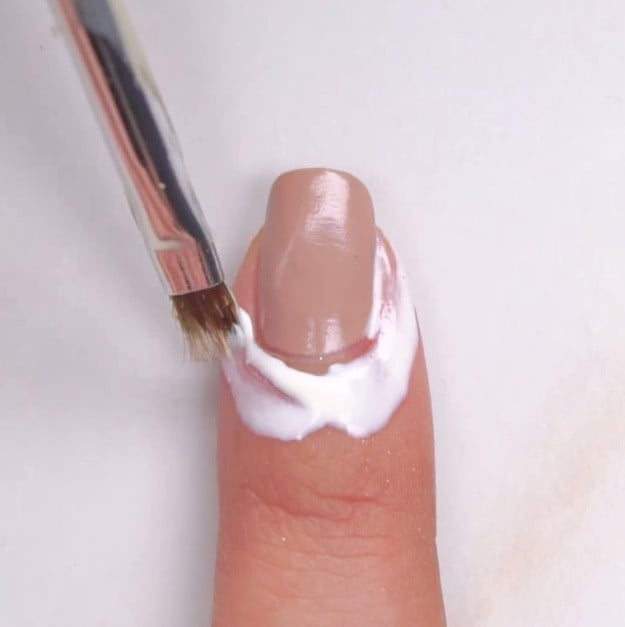
After applying a base coat to strengthen and protect your nails, use some nude nail polish as your base color. When it dries, dab a liberal amount of liquid latex on the skin around your nails. This is to prevent any leaks when you start your Egyptian nail art. If you don’t have a liquid latex a white glue would suffice.
Step 2: Put On Striping Tapes
With the liquid latex in place, it’s time to attach your striping tapes. Place four of the tapes right next to each other horizontally. Place the first striping tape on the inner side of your nail edge.
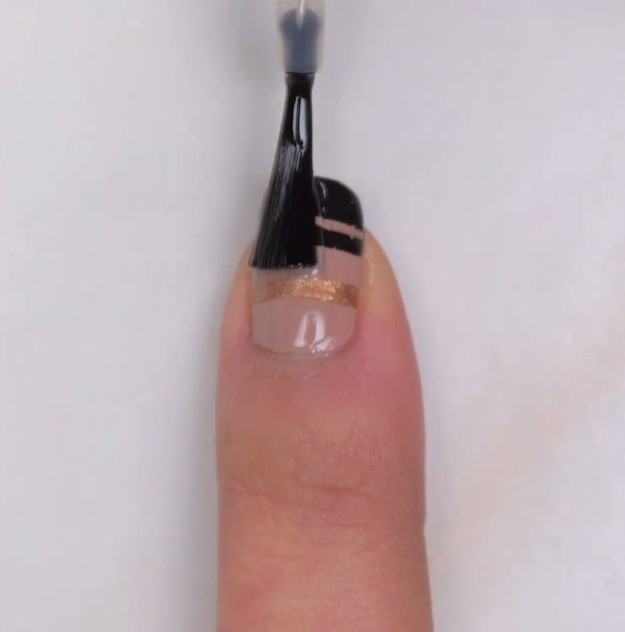
Step 3: Apply Nail Polish
Now you can start dabbing on the accent colors of your Egyptian nail art. Dab on the gold polish in the gap between the third and fourth striping tape. Make sure to apply the polish in the spaces within the tape.
Now paint the black polish from the middle of the second and first tape until the edge of your nail. Don’t worry about the striping tape that you would have to paint over. When you peel it off, it will create a neat negative space nail design!
Step 4: Cleanup
Pull out the tape after applying your nail polish. You should have neat spaces on where you placed the tapes. If there are some spills, clean them up using the same color polish as your base.
Once you’re all done, peel off the liquid latex from around your nails.
Step 5: Apply Topcoat
Once you’re satisfied with your design, protect it with a top coat! This will help your manicure become more beautiful and last longer!
Get this gorgeous Egyptian nail art design now! Check out the full tutorial below.
Now you’re ready to turn heads with this Egyptian nail art gives a classy touch to your party outfit. You can also wear this during formal events and date nights!
You don’t have to stick to the specific design that I showed you either. Try experimenting on your own as well! Just don’t forget to include a gold accent. Share it in the comments section below, too, when you’re done!
Want to learn another classy nail design? Check out this sophisticated autumn nail art tutorial next!
These gold double band cuff from Mason & Ivy would be perfect for your Egyptian nail art!

If you want more designs to try out on your own, you’ve come to the right place! Drop by Facebook, Instagram and Pinterest to see amazing nail art as well as the latest trends.