• Acrylic Nails
    • French Nails
    • Gel Nails
    • Long Nails
    • Nail Polish
    • Shellac Nails
    • Stiletto Nails
  • Cute Nail Designs
    • 3D Nail Designs
    • Aztec Nail Designs
    • Glitter Nail Designs
    • Heart Nail Designs
    • Tribal Nail Designs
    • Zebra Nail Designs
  • Finger Nail Health
    • Nail Biting
    • Nail Fungus
    • Nail Growth
    • Nail Hardness
  • Nail Art
    • Animal Nail Art
      • Butterfly Nail Art
      • Leopard Nail Art
    • Crystal Nail Art
    • Cartoon Nail Art
      • Disney Nail Art
        • Frozen Nail Art
        • Mickey Mouse Nail Art
      • Sponge Bob Nail Art
      • Hello Kitty Nail Art
    • Diamond Nail Art
    • Flower Nail Art
    • Ombre Nail Art
    • Patriotic Nail Art
    • Polka Dot Nail Art
    • Toe Nail Art
    • Tropical Nail Art
    • Zebra Nail Art
  • Nail Designs by Color
    • Black Nail Designs
    • Blue Nail Designs
    • Gold Nail Designs
    • Green Nail Designs
    • Grey Nail Designs
    • Nude Nail Designs
    • Orange Nail Designs
    • Pink Nail Designs
    • Purple Nail Designs
    • Red Nail Designs
    • Silver Nail Designs
    • White Nail Designs
    • Yellow Nail Designs
  • Occasional Nail Designs
    • Christmas Nail Designs
    • Easter Nail Designs
    • Halloween Nail Designs
    • Thanksgiving Nail Designs
    • Valentines Nail Designs
    • Wedding Nail Designs
Logo
  • Animals
    • Butterfly Nail Art
    • Leopard Nail Art
    • Zebra Nail Art
  • Cartoons
    • Disney Nail Art
    • Hello Kitty Nail Art
  • Crystals
  • Diamonds
  • Flowers
  • Ombre
  • Patriotic
  • Polka Dots
  • Toes
  • Tropical
You are here: Home / Nail Art / Easy Mermaid Reverse Nail Stamping Tutorial Even Beginners Can Do

Easy Mermaid Reverse Nail Stamping Tutorial Even Beginners Can Do

September 25, 2019 By Kelly Pepper Leave a Comment

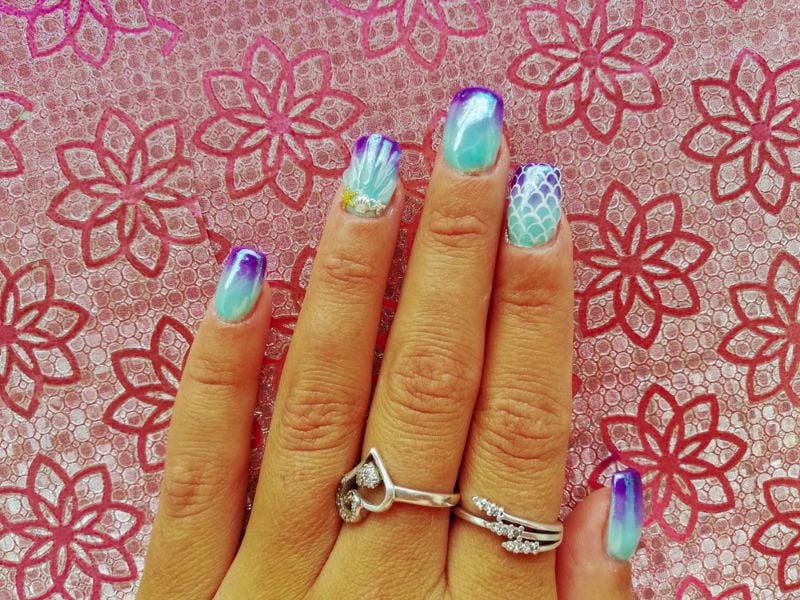
Fascinated with fish and other marine animals? Check out this mermaid reverse nail stamping for your next manicure!

The sea has always been fascinating to study and explore. Unfortunately, we can’t all be divers and marine scientists. Show your love for all things with colorful fins and scales with this gorgeous nail design!

Easy Mermaid Reverse Nail Stamping Tutorial Even Beginners Can Do

While I previously shared a mermaid nail design tutorial in a previous post, this nail art design takes things a step further by using a stamping pad.

I’m sure by now you can tell how much I am fond of mermaids! I love the beach and everything that reminds me of its calmness, just like this tutorial I’m going to share to you.

What you’ll need for this mermaid reverse nail stamping tutorial:

  • Base coat
  • Fast drying top coat
  • Catrice Team Blue
  • Stencil
  • Stamper
  • Scraper
  • Nicole by OPI
  • Revlon, Blue Lagoon
  • Sally Hansen, Babe Blue
  • Jordana, Crystal Glitters


YOUR EXISTING AD GOES HERE

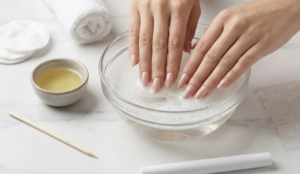
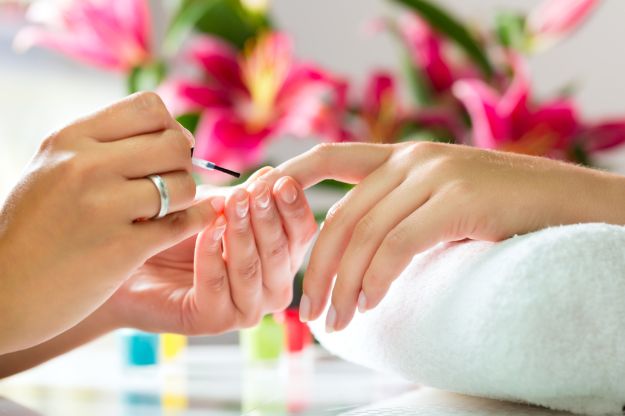
Step 1: Protect Your Natural Nails

Whenever you change your nail design, make sure to always apply a base coat to your natural nail bed. This will help protect your nails from the constant application of nail polishes.

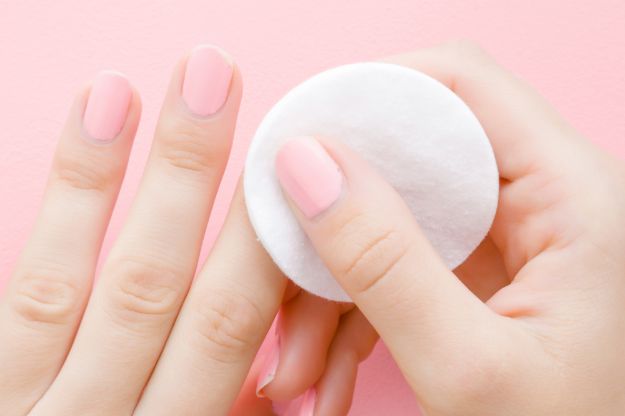
Step 2: Reverse Stamping

YOUR EXISTING AD GOES HERE

To make the mermaid reverse nail stamping design, choose the mermaid scales on your stencil. Apply Catrice’s Team Blue on the stencil, scrape off the excess polish and press your stamper on it while it’s still wet.

Afterwards, you can simply wipe the polish on the stencil off with nail polish remover using a Q-tip or some cotton.

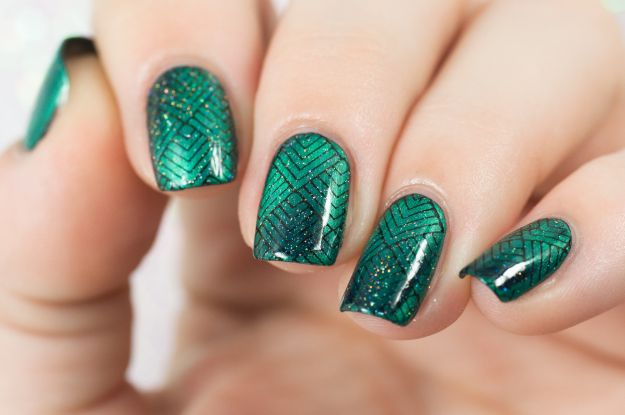
Step 3: Color The Scales

On the stamper, fill out the empty spaces of the scales with Nicole by OPI, Babe Blue by Sally Hansen, and Blue Lagoon by Revlon. If you don’t have these products on hand then you can use dupes for these shades. Or you can choose the colors you feel suits your personality best.


Step 4: Apply Fast Drying Top Coat

After filling in the spaces with the three nail polish colors, apply a fast drying top coat on the stamp. This will help seal in the design and make it easier for you to stick it on your nails later.

Meanwhile, paint your nails with the color you used as base for your stamper.

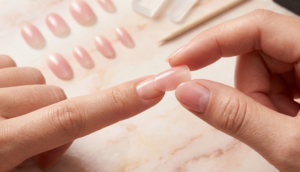
Step 5: Stick Design On Nail


When the fast drying top coat completely dries up, peel off the design from the stamper. This should look like a nail decal.

Cut off the edges to fit the curve of your cuticle. When the decal is shaped properly, apply a top coat on your nails. Pat on the design, making sure that everything is sticking on your nail properly. Using an acrylic brush dipped in nail polish remover, clean up the edges of your nails, as well as the excess edges of your DIY decal.

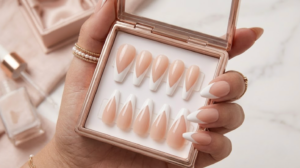
Add a layer of glittered clear polish before applying your fast drying top coat and you’ve got yourself an amazing aquarium nail art design!


Check out the full tutorial from Cute Polish below!

Reverse nail stamping too complicated for you? Here’s the classic way of getting some gorgeous mermaid’s tale nails!

Check out the latest nail art and trends from Facebook, Instagram, or Pinterest!


Liked this post? Read these next!

Pineapple Express! Check Out This Cute Fruit Nail Art Tutorial

Flower Nail Art Tutorial Perfect For Fall

[WHAT’S HOT] This Mermaid Makeup Will Turn You Into An Ocean Princess

Filed Under: Nail Art

Leave a Reply Cancel reply

Your email address will not be published. Required fields are marked *

SUBSCRIBE TO NAIL DESIGNS AND GET THIS FREE GIFT!

Free Nails Guide
YOUR EXISTING AD GOES HERE
  • Facebook
  • Instagram
  • Pinterest
  • Tumblr
  • Twitter

DIY Easy Minion Nail Art Tutorial | Perfect For Your Kids!

Minion nail art? Who wouldn’t love this? Ever since I watched Despicable Me, I instantly fell in love with the lovable and cute minions!

Easy DIY Gorgeous Golden Lightning Tape Nail Art Tutorial

Do you want some edgy nail art to match your fashionable ensemble? Then you will love learning this easy golden lightning tape nail art tutorial!

DIY Paper Transfer Nail Art Tutorial

Newspaper nail art designs are super pretty and unique designs. But are they hard to DIY? Not at all! This tutorial will show you just how easy it is to create this interesting manicure!

Summer Nail Art: DIY Nautical Nails Tutorial

Looking for summer nail art designs? If you want a fun way to experiment with your nails, we’ve got this cool tutorial from The Beauty Department!

DIY Water Marble Nail Design

DIY water marble nail art is not as complicated as it seems, trust me. Have you tried water marble nail art? It’s a pretty mesmerizing technique, but a lot of people are hesitant to try it because it looks so difficult to replicate. Though it’s eye-catching and beautiful, it can get a bit messy at…Continue Reading

More Posts from this Category

Go Shopping

  • Mason & Ivy
  • Sephora
  • Ulta
  • e.l.f. Cosmetics
  • PUR Cosmetics

Other Great Sites

  • Makeup Tutorials
  • You’re So Pretty
  • DIY Projects
  • Homemade Recipes
  • Cute Outfits

Resources

  • Cute Nail Designs
  • Coffin Nail Designs
  • Nail Art
  • Trendy Nail Designs
  • Easy Nail Designs
  • About Nail Designs
  • Contact Us
  • Write For Us!
  • Advertise With Us
  • Privacy
  • Join ABA!
Nail Designs
1889 E Maule Ave, Ste G
Las Vegas 89119

Email Support: [email protected]
Phone: 512-394-8187

Copyright © 2023 · Nail Designs


This copyrighted material may not be republished without express permission. The information presented here is for general educational purposes only.

MATERIAL CONNECTION DISCLOSURE: You should assume that this website has an affiliate relationship and/or another material connection to the persons or businesses mentioned in or linked to from this page and may receive commissions from purchases you make on subsequent web sites. You should not rely solely on information contained in this email to evaluate the product or service being endorsed. Always exercise due diligence before purchasing any product or service. This website contains advertisements.