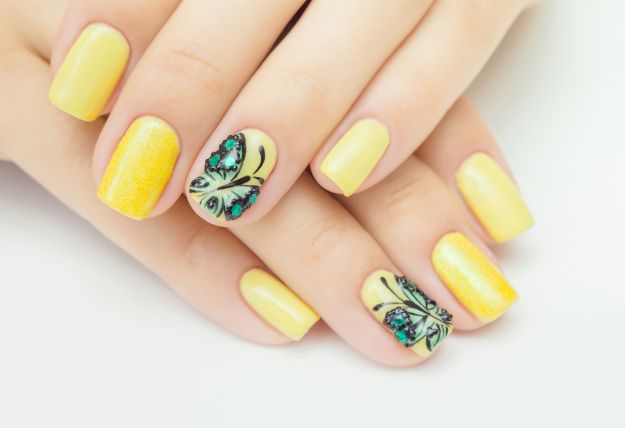
Looking for a floral nail design that screams spring? I’ve got you covered as I’ll share with you an ultra-girly design that will give you spring dreams for days. It’s bright, fresh and absolutely stunning. Get ready for a super easy DIY on how to use water decal to create a beautiful floral nail design!
Floral Nail Design Tutorial | How To Use Water Decal to Make a Pretty Spring
Dainty & Fun-tastic Detailed Decals!
There’s too many inspiration around us if we want to don a floral nail design. From the fields of flowers in a farm to our very own flower pot garden, we can get a mental vision of the type of design we can sport. But while you’re at it, here’s an idea which I’m sure you will drool over.
I’ve actually sported this myself. My clients even went crazy about the design when they saw it that some of them decided to copy my flower nail design. I couldn’t blame them though. This is way too cute to pass upon!
Now, it’s your turn to dress up your nails with bright colors and floral! Not only do they look good, but they are also easy as pie. Just follow these simple steps to effortlessly recreate this lovely floral nail design using water decal!
For this nail art, you’ll need:
- Yellow nail polish – You can use Wet n Wild (Fergie Collection) Ferga-Colada
- Gold glittered nail polish – Try Catrice Champaign Rain
- Clear glittered nail polish – Choose Ciaté Party Shoes
- Top coat – Do try Sally Hansen Mega Shine
- Flower water decals
- Diamonds
- Brush 1 – I’m Fan-tastic
- Brush 2 – Fabulously Flat
- Brush 3 – Stripy Glamour
- Dotting tool
- Tweezers
- Nail polish remover
- Water
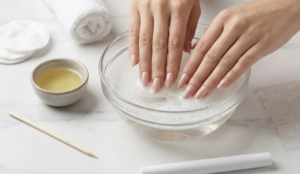
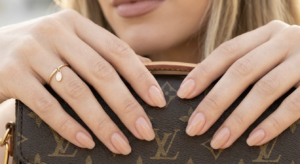
Before starting this nail art, remember that it’s always a must to start off with clean and groomed nails. This will not only make your nail art prettier but it can also help maintain the nail health. Always apply a base coat to protect your natural nails.
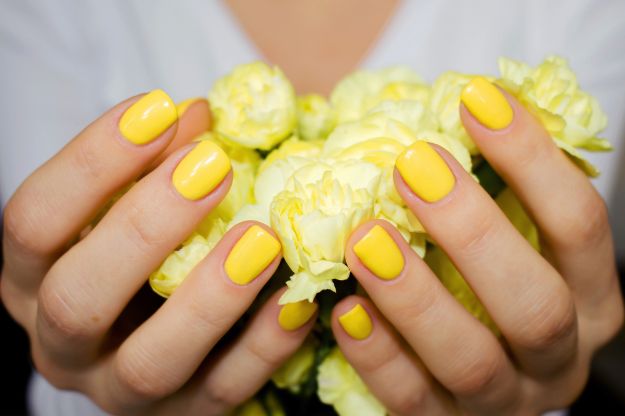
Step 1: Do the base
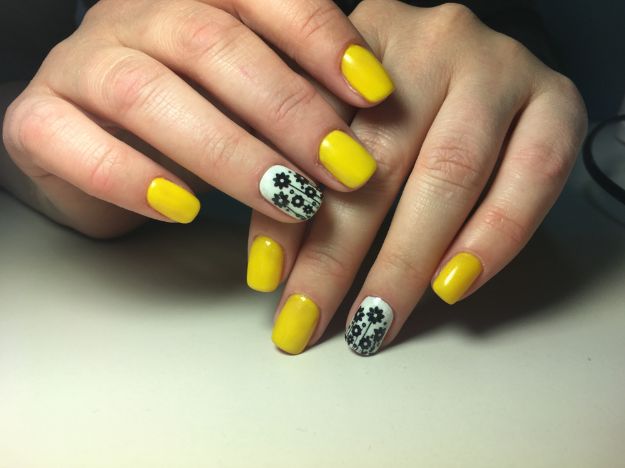
Apply a yellow nail polish for your base color. There are so many shades of yellow color but for this nail art, Wet n Wild (Fergie Collection) Ferga-Colada was used. It seems the perfect shade for this skin tone.
Step 2: Bring in the gold
Using brush 1, get some gold glittered nail polish. Make sure to use only the tip when dipping in the nail polish. Randomly brush the tip gently on your nails.
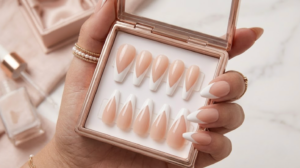
Step 3: Detach decal
Your flower nail design will not be complete without the decals. So, cut them out from the sheet. Dip the cut-out into the water for several minutes.
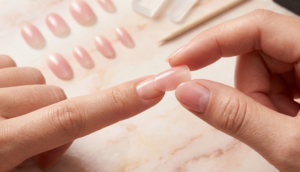
Step 4: Attach decal
Take out the decal from the water after several minutes. Carefully peel-off the design from the white paper. Attach the design to the nail by gently tapping it. Place as many decals in one nail as you would like.
Step 5: Prettify decal
If there are excess in the decal, take it off by using brush 2 dipped in a nail polish remover. Thereafter, add some glitters to the floral nail design using brush 3 dipped in glittered nail polish. Apply top coat.
Step 6: Finish off floral nail design
While the top coat is still a little bit wet, add some nail art gems onto the center of the decal. This will add more interest to the already pretty floral nail design. Finally, seal it all in with a brush or two of the top coat.
To help you recreate this flower nail design, watch the video below from Nails by Miri for the full tutorial:
Now, you are ready to rock your annual spring dance or whatever event you’ll be attending. You can even wear this floral nail design at any time of the year. Pair this nail art with a spring inspired dress for a matchy-matchy look.
If you liked this tutorial, there’s so much more nail art you can easily replicate. See more ideas here!
So, do you have other flower nail art ideas? Share your thoughts in the comments section below. Visit my Pinterest, Instagram or Facebook page as well for more wonderful nail design ideas.
Like this? You’ll also like…
3D Nails: Cute 3D Bow Nail Art TutorialAztec Nail Design Tutorial | Aztec Print Over Purple GradientAwesome Silver Hair Color Ideas