• Acrylic Nails
    • French Nails
    • Gel Nails
    • Long Nails
    • Nail Polish
    • Shellac Nails
    • Stiletto Nails
  • Cute Nail Designs
    • 3D Nail Designs
    • Aztec Nail Designs
    • Glitter Nail Designs
    • Heart Nail Designs
    • Tribal Nail Designs
    • Zebra Nail Designs
  • Finger Nail Health
    • Nail Biting
    • Nail Fungus
    • Nail Growth
    • Nail Hardness
  • Nail Art
    • Animal Nail Art
      • Butterfly Nail Art
      • Leopard Nail Art
    • Crystal Nail Art
    • Cartoon Nail Art
      • Disney Nail Art
        • Frozen Nail Art
        • Mickey Mouse Nail Art
      • Sponge Bob Nail Art
      • Hello Kitty Nail Art
    • Diamond Nail Art
    • Flower Nail Art
    • Ombre Nail Art
    • Patriotic Nail Art
    • Polka Dot Nail Art
    • Toe Nail Art
    • Tropical Nail Art
    • Zebra Nail Art
  • Nail Designs by Color
    • Black Nail Designs
    • Blue Nail Designs
    • Gold Nail Designs
    • Green Nail Designs
    • Grey Nail Designs
    • Nude Nail Designs
    • Orange Nail Designs
    • Pink Nail Designs
    • Purple Nail Designs
    • Red Nail Designs
    • Silver Nail Designs
    • White Nail Designs
    • Yellow Nail Designs
  • Occasional Nail Designs
    • Christmas Nail Designs
    • Easter Nail Designs
    • Halloween Nail Designs
    • Thanksgiving Nail Designs
    • Valentines Nail Designs
    • Wedding Nail Designs
Logo
  • French Nails
  • Gel Nails
  • Long Nails
  • Nail Polish
  • Shellac Nails
  • Stiletto Nails
You are here: Home / Nail Trends / How To Airbrush Nails In These 3 Easy Steps

How To Airbrush Nails In These 3 Easy Steps

airbrush brushes examples nail design | How To Airbrush Nails In These 3 Easy Steps | Featured

February 5, 2020 By Kelly Pepper Leave a Comment

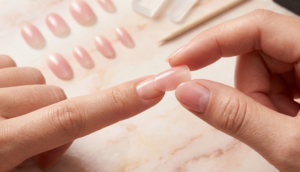
Airbrush nails are another great alternative to your traditional nail designs. In this post, you’ll learn all the items you need and steps on how to do airbrush nails.

RELATED: 10 Nail Colors You Should Try This 2020

Airbrush Nails Tutorial | A Step-By-Step Guide
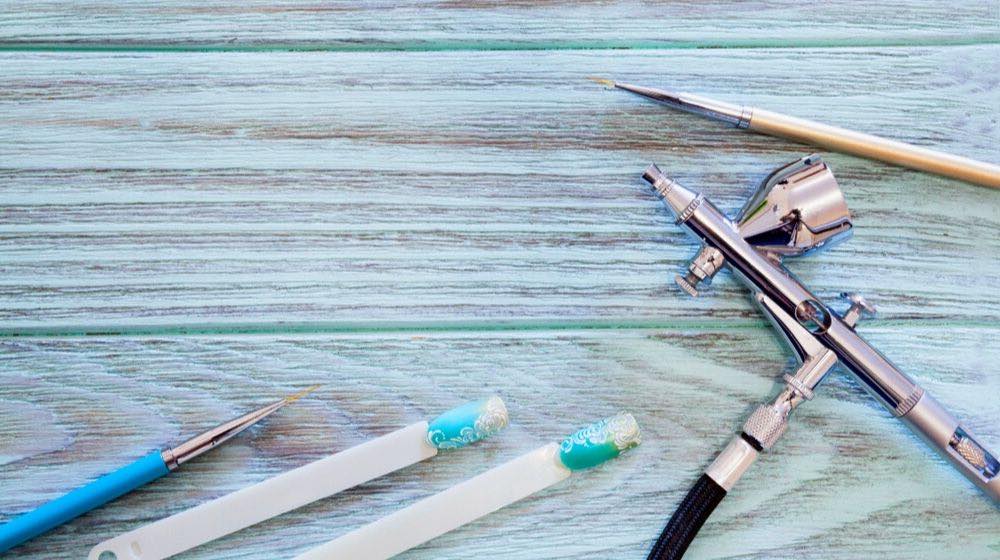
Things You Need

To do airbrush nails, you need the following:

  • Airbrush gun
  • Air compressor
  • Cleaner and cleaning supplies
  • Stencil
  • Topcoat
  • Water-based paint

Learning How to Use the Air Brush

Before you apply anything on your nails, it is important to get acquainted with the airbrush first. The entire sequence begins by letting air in when the trigger is pressed. Then, the nozzle releases the paint out into tiny drops when the trigger is pulled backward.

Once the paint lands on a surface, it creates a dot. The size of the dot varies depending on how far you pulled the trigger and how much it has dried before it hits the surface of the nails, for example. More air pressure means smaller paint drops and less air pressure makes larger drops. Also, smaller drops result in a dryer and rougher surface. Larger drops translate to a smoother and wet surface.

The farther the distance between the spray from the surface, the endgame will result in lighter coverage. Try to avoid being too close when spraying since the paint won’t have much to run on.

Remember to practice until you memorize the different results when pulling the trigger. Make it a point to do practice sprays before spraying straight on the nails.

Step 1: Prepare the Air Gun

First of all, be sure that your air gun is compatible with nail crafting. You can opt for a single-action airbrush if you’re a beginner or a dual-action one if you want precise and extensive detailing.

The airbrush gun comes with an air compressor, air stylus, and air hose. Make sure everything is clean and each part is tightly connected with each other.

Step 2: Add the Paint

master does design on nails airbrush | How To Airbrush Nails In These 3 Easy Steps

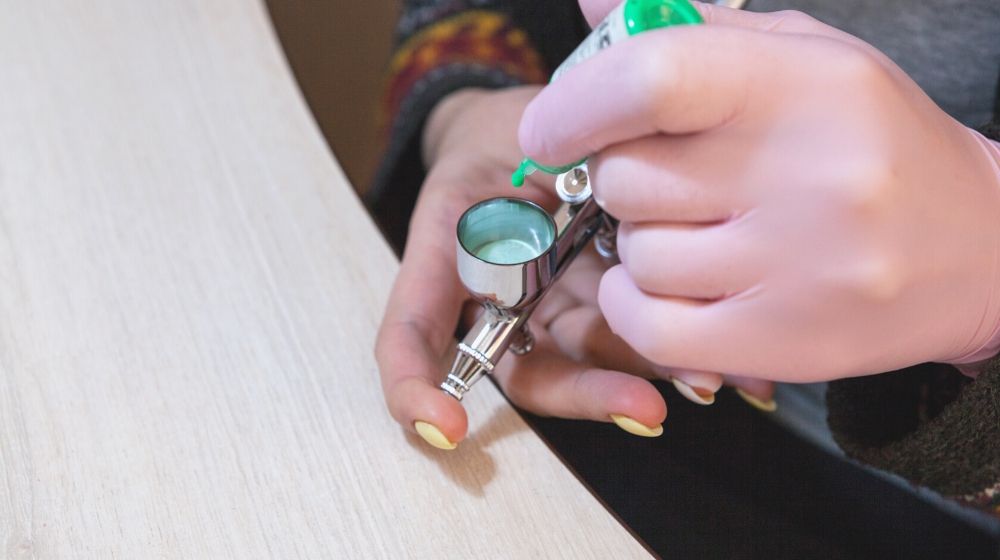
It is recommended to use water-based paint when doing airbrush nails. Regular nail polish is just too thick and will definitely clog the airbrush gun.

Your airbrush gun might have a cup-shaped hole at the top or a provision for a container at the bottom. 4-6 drops of paint should do.

RELATED: 7 Cool Gel Nail Design Ideas To Copy

Step 3: Spray on the Nails

Before you begin, it is best to do some practice shot on a piece of paper. When you’re ready, keep the brush steady and perpendicular to the nail surface and spray straight on. You can also experiment with different angles for varying effects.

Try making dots and lines on paper. Once you get a good grip on your gun, you can now try layering colors and stencils which should give you plenty of design options.

Finish it off by applying topcoat to make the nail art last longer.

Tips for Cleaning Airbrush

airbrush cleaning brushes other tools | How To Airbrush Nails In These 3 Easy Steps

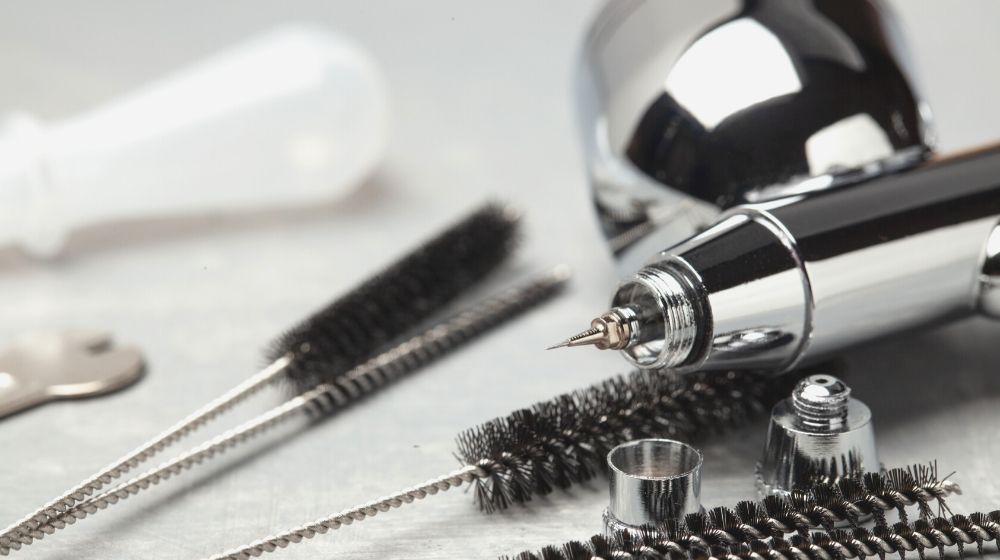
Cleaning the air gun requires great attention to details as irregular and infrequent cleaning may lead to clogging and other problems. There are lots of nooks and crannies for the paint to stick and dry, which will hinder its performance. Frequent dismantling is unnecessary, but washing after use is a must. Without further ado, here are tips on how you can effectively clean your air gun:

  • Use cleaning materials like cotton swabs, a wire brush used to clean debris from carbide drill bits, a squeeze top for the cleaner bottle, dental proxy brushes with varying sizes, and a small dish or cup.
  • Lastly, don’t soak the entire air gun in cleanser. Only wash the parts of the brush for a brief period of time then brush off the excess paint.

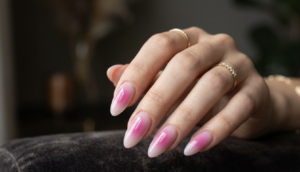
Here are five easy nail art designs you can try using an airbrush courtesy of cutepolish:

Learning to do airbrush nails is a skill that requires great precision and creativity, which can be easily mastered through hours of practice. It edges other traditional nail designs in terms of design flexibility and it also dries quickly, which makes designing less prone to errors.

With just $300-400 worth of investment, you can buy all the equipment you need and perhaps, start your own business at some point in the future!

Do you think doing airbrush nails is better than traditional nail designs? Share your thoughts in the comments section below!

UP NEXT:

  • How To Do Ombre Nails | 4 Fun & Easy Ways
  • Matte Dark Floral Acrylic Nails Tutorial Perfect For Any Season
  • How To Fix Broken Nails Fast And Easy In Under A Minute!

Filed Under: Nail Trends

Leave a Reply Cancel reply

Your email address will not be published. Required fields are marked *

  • Facebook
  • Instagram
  • Pinterest
  • Tumblr
  • Twitter

Subscribe To Our Newsletter

Free Nails Guide

[Tutorial] Enchanting Easter Nail Design

Want to have those fun and colorful eggs on your nails? Check out this enchanting Easter nail design tutorial by Demelza’s World on how to have egg-stra cute nails!   [Tutorial] Enchanting Easter Nail Design Keep Things Sweet with a Dreamy Easter Nail Pattern Why hunt for those eggs on Easter when you can paint them on your nails?…Continue Reading

DIY Chic Coachella Inspired Nail Design That Will Flaunt Your Festive Spirit

With Coachella just around the corner, here’s a tutorial of a chic Coachella inspired nail design by Twi_star! Get ready to channel your inner Vanessa Hudgens!   [Tutorial] Chic Coachella Inspired Nail Design That Will Flaunt Your Festive Spirit Cotton Candy Pastel With Fun Aztec Twist There’s no better time to show off a bold and colorful manicure…Continue Reading

Original Nail Tutorial Videos Collection

16 Nail Tutorial Videos | Nail Designs Originals

Sometimes, looking for new nail designs to recreate can get tedious. Don’t you wish of a list that includes all the coolest nail art ideas you’d want to try out? Then, you’re in luck, because this nail art tutorial videos collection is the answer to your prayers!

Hot Chocolate Nails: Delicious Brown Shades to Warm You Up This Winter

Hot Chocolate Nails: Delicious Brown Shades to Warm You Up This Winter

Hot Chocolate Nails are the ultimate winter manicure trend. Inspired by cocoa, caramel, and espresso shades, these designs offer both elegance and versatility. They draw warmth from your favorite winter drink and make them the perfect shade for the season. This trend works beautifully for any occasion. Wear these nails to a holiday party, a…Continue Reading

Beautiful Floral Polka Dots Nails-Tutorial

Are you looking for a polka dots theme for your upcoming social gathering? Check out this floral and polka dots acrylic nails design by Dazzle Glam Nails. See how easy it is to create stunning nails!

More Posts from this Category

Go Shopping

  • Mason & Ivy
  • Sephora
  • Ulta
  • e.l.f. Cosmetics
  • PUR Cosmetics

Other Great Sites

  • Makeup Tutorials
  • You’re So Pretty
  • DIY Projects
  • Homemade Recipes
  • Cute Outfits

Resources

  • Cute Nail Designs
  • Coffin Nail Designs
  • Nail Art
  • Trendy Nail Designs
  • Easy Nail Designs
  • About Nail Designs
  • Contact Us
  • Write For Us!
  • Advertise With Us
  • Privacy
  • Join ABA!
Nail Designs
1889 E Maule Ave, Ste G
Las Vegas 89119

Email Support: support@naildesigns.com
Phone: 512-394-8187

Copyright © 2025 · Nail Designs


This copyrighted material may not be republished without express permission. The information presented here is for general educational purposes only.

MATERIAL CONNECTION DISCLOSURE: You should assume that this website has an affiliate relationship and/or another material connection to the persons or businesses mentioned in or linked to from this page and may receive commissions from purchases you make on subsequent web sites. You should not rely solely on information contained in this email to evaluate the product or service being endorsed. Always exercise due diligence before purchasing any product or service. This website contains advertisements.