
Can’t get enough of the ombre nails trend? Read on to learn the basic method on how to do ombre nails, plus let’s look at some of the hottest designs you can do yourself!
RELATED: Shellac Nail Designs | Everything You Need To Know
In this article:
- How to Do Ombre Nails for Beginners
- What You Will Need
- Instructions
- Different Ways to Do Ombre Nails
- Fabulous Ombre Nail Designs
Master Ombre Nails with This Basic Tutorial and Ideas
How to Do Ombre Nails for Beginners
A plain nail color application by yourself is tricky enough, let alone a full nail design. An ombre design, however, lets you have elegant and super fab nails with minimal effort.
Here’s the foolproof step-by-step guide to doing ombre nails.
What You Will Need
- Nail polish colors (Clear, white or neutral, and gradient color shades of your choice)
- Clean sponge (Makeup or dishwashing sponge)
- Q tips
- Nail polish remover
- Mani tape or peel-off liquid latex
Instructions
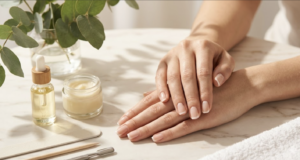
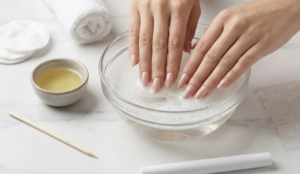
Step 1. Prep Your Nails
Do your usual routine before applying a nail color or design. Remove the present color polish if there is any and clean your nails.
Trim or clip, then smooth out the edges with a nail file. Push back the nail cuticles because you want to work on a cleaner and longer slate/nail.
Apply a nail barrier like mani tape or peel-off latex. This is a must for this basic ombre nail design for easier clean-up after.
Step 2. Paint Nails with a Neutral Nail Polish
Apply a thin clear base coat on all your nails. It will dry fast and will give your nails added protection from nail polish stains and chipping.
It will also help extend the life of your ombre nail design (or any nail design for that matter).
Step 3. Apply a Base Coat
Next, apply a neutral or white base color to your nails. White or neutral base colors will make your ombre colors pop.
If you’re using light color combinations or shades, the white base will only make it stand out and look more vibrant.
Step 4. Paint Gradient Nail Polish Colors on Sponge
Let your clear and neutral nail polish dry completely. Meanwhile, prepare your sponge for painting.
Wet the sponge and squeeze as much of the water out before applying paint colors. Size up the area you want to be painted on the sponge.
The size should cover your nail across and the colors must be equally distributed. You need not worry about the excesses since you have a barrier applied to your nails.
Paint the darkest color first, then the next shade, and lastly, the lightest shade. You can pick two colors or more, it’s your choice.
Applying only two colors will still give you the illusion of more shades which is the ombre design is all about. Make sure you don’t leave out any gap in the sponge, though.
Don’t worry if the colors will overlap, because again, that’s the idea of an ombre design.
Step 5. Stamp Colored Sponge on Nails
Position your sponge so that the colors go vertical across your nail. I like mine with the darkest color down to make the nails appear longer.
But if you have longer nails, you can do as you please. In fact, darker colors at the top of your ombre design will give your nails a fierce look.
Gently dab or roll the sponge across your nails until it is completely colored. Use your clear nail polish brush to smooth out and blend the colors.
Step 6. Repaint the Sponge
Repaint the sponge, adding more nail polish before applying on each nail. Repeat the same process for each nail until finished.
Step 7. Apply Top Coat
Once done with the nails on your one hand, apply a top coat on that hand before going to the other. This will give the nail polish on that hand enough time to dry.
Simply apply a thin clear coat so it dries faster. Once you’re done with both hands you can apply another coat of clear top on them to finish up.
Let your ombre nails dry completely, then start peeling off the mani tape or peel-off latex, gently. Use Q-tips and nail polish remover to clean up areas around your nails if needed.
RELATED: 16 Sexy Red Nail Designs You Should Wear This Christmas
Different Ways to Do Ombre Nails
Creating an ombre design effect on your nails may take time and practice. You might think those doing these nails are really masters of their craft.
But now, with our basic method on how to apply ombre nails, you know it isn’t so difficult after all. Try these other ways of doing it:
1. How to Do Ombre Nails with a Cosmetic Sponge
|What You’ll Need
Instructions
- Start by applying the pink polish on the sponge.
- Do the same with the sky blue nail polish next to the pink nail polish.
- Press onto your nail.
- Repeat the same step about two or three more times until you’re satisfied with the result.
2. Acrylic Paint
|What You’ll Need
- White Acrylic Paint
- Blue Acrylic Paint
- Cosmetic Sponge
Instructions
- It’s basically the same steps as the sponge method. However, you will use acrylic paint instead of nail polish.
- Clean the area surrounding the acrylic nails with a clean Q-tip.
3. Glitter Striper
|What You’ll Need
Instructions
- Apply the first gold coat.
- Apply the black nail polish about halfway on the nail.
- With the golden glitter striper, make small strokes where the gold nail polish and the black nail polish meet until they blend.
4. Gradient Glitter Nails
|What You’ll Need
- Bubble Bath from OPI Colorless Nail Polish
- Tiny Granules Glitter Nail Polish
- Big Granules Glitter
Instructions
- Apply three coats of the colorless nail polish on the nails.
- Apply the tiny granules of glitter on the nail with very mild strokes all the way down but concentrating around the tip.
- Here’s another way to do it:
https://www.instagram.com/p/BQUWznFjX0O/
Fabulous Ombre Nail Designs
We won’t be surprised if you want to try more, so let’s look at some fabulous designs you can replicate and do on your own!
1. Glitter Ombre Nails
If you like your ombre nails sparkly, having a glitter ombre nail design done is the best way to go. This is very cute to look at and you can even do this on your own since the designing part entirely depends on you!
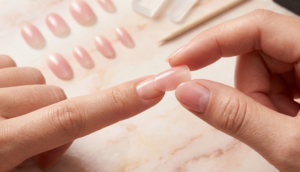
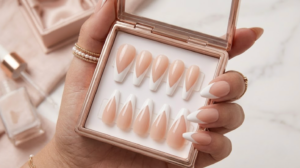
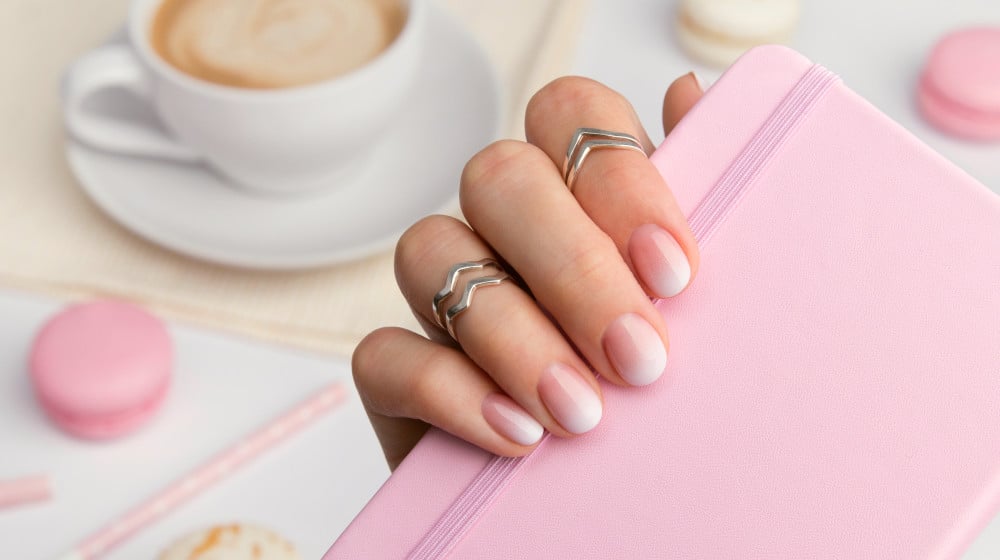
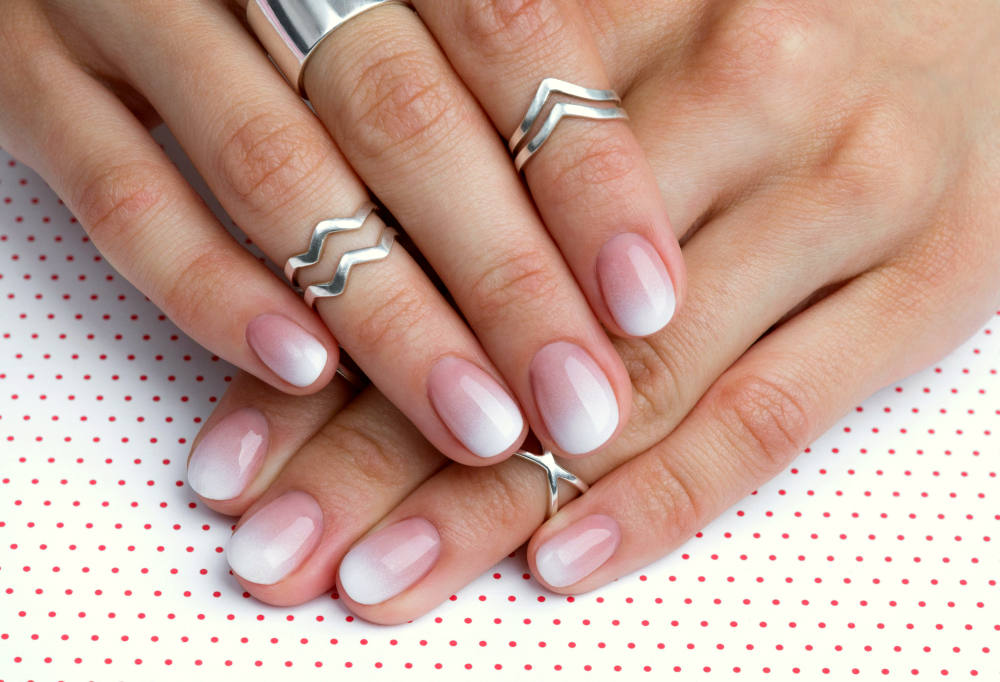
2. French Ombre Nails
French ombre nail design is the simple yet elegant look you are wishing for. It is a classic theme perfect for every season and if you’re the type who loves a clean look, this ombre design is your thing.
3. Pink Ombre Nails
If you want to rock a girl-power theme, then pink-colored ombre nails are for you! From shining neons to soft pastels, nothing says feminine than these pink ombre nail options!
What’s more, it blends well with light-colored outfits and will look astounding with an all-pink get-up.
4. Blue Ombre Nails
If your spirit color is blue, then, by all means, try applying blue ombre nails! Not only does it give off cool and relaxing vibes, but it also suits outfits leaning on the darker side.
You can opt for various blue shades such a blueberry, icy, and sky-themed colors. Go for 2020’s color of the year, Classic Blue –so trendy.
5. Red Ombre Nails
A red ombre nail design projects sexiness and is an eye-catcher anywhere you go. You’ll have plenty of shade options for this one.
You can opt for scarlet, garnet, cherry, crimson, and ruby shades and you can never go wrong with any of these red ombre designs!
If you want to see the actual process of applying ombre nails, check this full video tutorial by HannahRoxNails:
Now you know how to do ombre nails! Feel free to explore as there are plenty of other ombre color combinations you could try.
Among other nail designs, doing ombre nails is perhaps the most fun to experiment with. Nothing is more satisfying than blending two colors that would result in an absolute masterpiece!
Have you tried making colorful ombre nails? I’d love to hear your thoughts, please share them with me in the comments section below. Do you want to know amazing manicure hacks you could try? Check this out.
UP NEXT:
- How To Apply Nail Stickers | Step By Step Guide
- 10 Christmas Nail Designs You Can Do With Your Kids
- Yellow Nail Syndrome | What Is It And How To Get Rid Of It
Follow us on Facebook, Twitter, and Instagram.Editor’s Note: This post was originally published in August 2016 and has been updated for quality and relevancy.