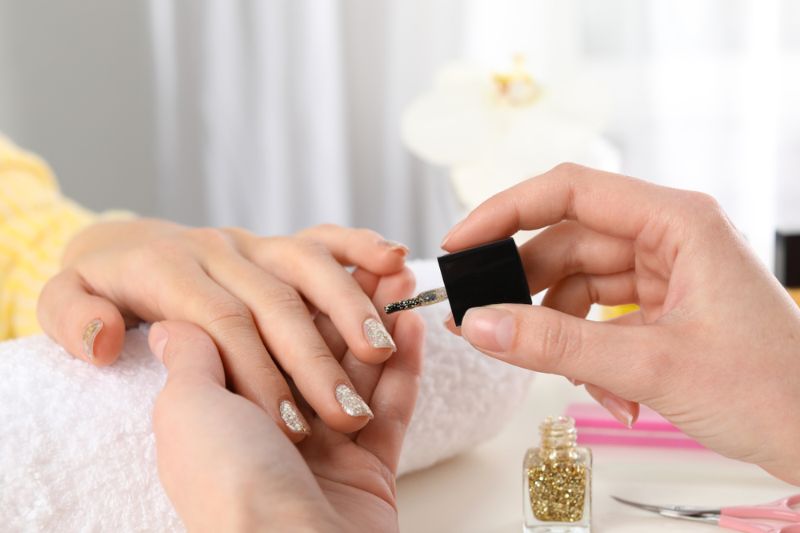

Do you want some edgy nail art to match your fashionable ensemble? Then you will love learning this gorgeous golden lightning tape nail art tutorial!
Painting straight lines for your manicure can be frustrating, especially if you have shaky hands. Zigzags would also be a headache! The best solution to this? A roll of tape! You’ll be amazed at how beautiful your nails will turn out with the help of your trusty, multi-functional tape.
DIY Golden Lightning Tape Nail Art
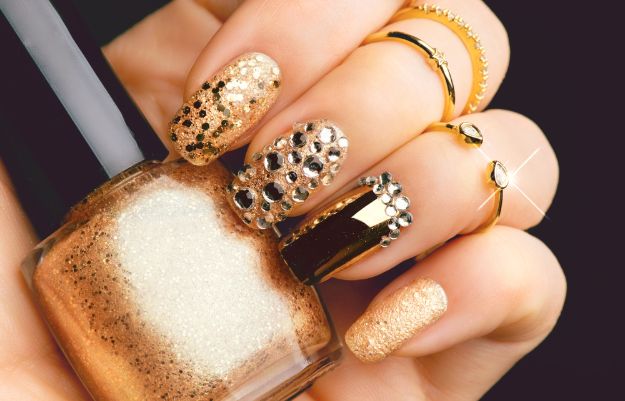
is the trend these days. Celebrities and even normal people love getting putting them on their nails. I personally love getting these kinds of manicure every so often. Sometimes, however, it’s fun to mix up designs, especially with all the gold and silver polishes in my collection.
Chrome nails can look incredible on your nails but I assure you can utilize those bottles of gold, silver or multicolored metallic polishes tucked deep in your storage.
Getting an edgy manicure doesn’t need to be expensive or complicated. You don’t need to go to the salon to get a really cool metallic nail design. This nail art tutorial will teach you how to create a fresh new manicure with just the help of some tape. This willgo perfectly with your holiday look as well!
Are you ready to create a golden lightning built without using any special tools except for a roll of tape? Let’s get started, shall we?
What you’ll need for this golden lightning nail art tutorial using tape:
- Sally Hansen Hard as Nails Xtreme Wear, White On
- Sally Hansen Hard as Nails Xtreme Wear Nail Color, Black Out
- OPI Nail Polish 2014 Holiday Gwen Stefani Nail Effects “Rollin’ In Cashmere”
- ILNP Juliette – Rose Gold Holographic Nail Polish
- Scissors
- Clear tape
- OPI Natural Nail Base Coat & Top Coat
Step 1: Base Coat First
Always begin any nail art with your trusted base coat. This will protect your nails from chemical damage and help make the colors of your polish stand out more. Apply the base coat on all your nails and wait for them to dry before starting on your base color.

Step 2: Apply Base Color
Paint your nails black. Sally Hansen, Black Out, has a great formula so you won’t have to apply several coatings for the base color to become really opaque. Make sure to completely dry your base color before moving on to the next step.
Step 3: Tape Preparation
When your nails are dry, cut off two pieces from your roll of tape to a diagonal angle. They don’t have to be big but they should be able to cover at least half of your nail. They also don’t have to be the same size, they’ll overlap each other when taped on your nail.
Step 4: Place Tapes On Nail
Place one of your tapes on your nail in a slanting position. The other one should overlap the first tape but make sure that it’s positioned a bit higher. This should resemble one side of the lightning.
Make sure all the edges stick on the nail to avoid any leakage when you start painting your nail later on.
Step 5: Paint Your Golden Lightning
Now that your tapes are in place, you can start painting your nails with the gold nail polish on the lower half of your nails. It’s okay to paint over the tape as these will be taken off later. Make sure not to leave any spaces between the tape to get a seamless line later.
Add another layer of glitter to your gold polish to make it sparkle more. Then slowly remove the tape to reveal one side of your golden lightning.
Step 6: White Nail Tips
Wait for the golden polish to dry before reapplying the tapes. You can use completely new ones or wipe off the polish from the previous ones you used.
Place them in the same position but a half centimeter lower than it previously was. Secure the edges to prevent leaks before applying a rich white polish for the edge of your nail.
Peel off the tape to reveal the golden lightning between the white and black polishes!
Step 7: Apply Top Coat
After peeling off the tape, you’ll see the golden lightning in the middle of the black and white polish. To protect the design, apply a quick drying top coat! This will seal in the design and make your manicure look shiny and even more attractive!
Voila! That’s it! You now have your edgy golden lightning tape nail art! Check out the full nail art tutorial in this video from Janelle Estep:
See? You don’t need to go to a professional to get gorgeous, edgy nails! You only need some tools (this time a roll of tape) to make your own awesome nail art! You can also opt to wear just one color for the top and bottom colors. The lightning bolt would really stand out if you paint the lower part black, instead of white.
I hope you enjoyed this cool DIY nail art tutorial. Share your own tape nail art designs in the comment section below!
If you liked this nail art tutorial, learn how to paper transfer a newspaper design on your nails here!
Visit Facebook, Instagram, or Pinterest for nail art tutorials and designs!