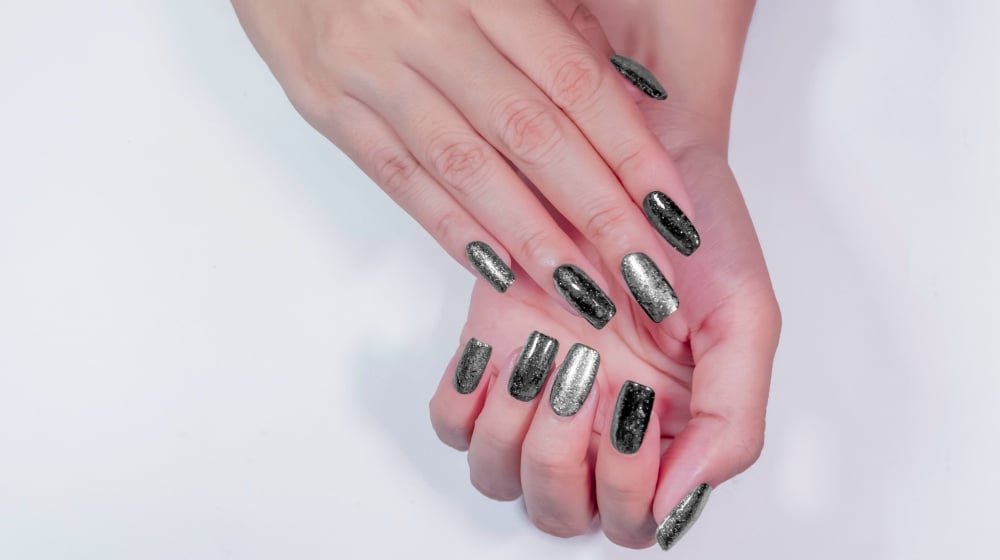

If you’re tired of the usual manicure every single time, try the newest trend in gel nails: Mirror chrome nails!
RELATED: DIY | Easy Gel Nails At Home For Busy People
In this article:
- Mirror Chrome Gel Nails 101
- Things You’ll Need to Have Mirror Chrome Gel Nails
- Mirror Chrome Gel Nails Instructions
- Finished Product
Get Mirror Chrome Gel Nails to Modernize Your Mani
Mirror Chrome Gel Nails 101
Gel nails are the obvious choice when getting a manicure these days because they last 3 weeks without chipping. Chrome nails, also known as mirror nails or glass nails, are a step up from gel!
Chrome nails may cost a bit more than what you usually pay at the nail salon, but they’re definitely worth it. And they’ll be great for parties to compliment your outfit and your makeup!
Prefer to DIY your nails? Check out this easy tutorial to get gorgeous-looking mirror chrome gel nails at home.
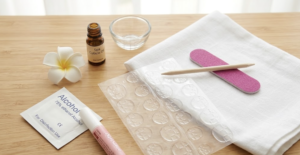
Things You’ll Need to Have Mirror Chrome Gel Nails
- Black Gel Polish
- Gel Top Coat
- Chrome Powder (available here)
- Eyeshadow Applicator
- UV lamp
Mirror Chrome Gel Nails Instructions
Step 1: Black Base Polish
Prep your nails like what you would usually do with gel nails. To create the full effect of the mirror nails:
- Apply a double coat of black gel polish
- Cure the gel for about 10-20 seconds under UV light to dry it instantly
Once this is done, apply a clear gel top coat and cure under the UV light once again. Now your nails are ready for the loose chrome powder!
Step 2: Buff on the Chrome Powder on Your Gel Nails
Use an eyeshadow brush to pick up an ample amount of chrome powder. You can find this mirror color on Amazon for 5.99.
Dab on the powder to your UV-dried nails and start buffing. Make sure to put just enough pressure to create friction on your gel nails.
It might not come out right away but after a few rubs, the silver chrome effect will come out. It should look similar to foil.
RELATED: 5 Cool Gel Nail Design Ideas To Copy
Step 3: Clean Up
When you’ve applied the loose chrome powder on all your nails, brush away the remaining powder around the nails. These little buggers might be a bit harder to brush off compared to glitter.
Tip: If the cleaning part isn’t your style, you can apply liquid latex around your fingernails. The excess powder will stick to it instead of your skin.
Step 4: Apply Top Coat
Satisfied with your mirror chrome gel nails? Don’t forget to apply another layer of the clear top coat. This will help lock in the powder and retain the mirror-like effect.
Step 5: Cure Again
After everything, cure your new gorgeous nails for 60 seconds. Using alcohol, clean up any excess chrome powder around your chrome gel nails and then start enjoying people’s attentions!
Finished Product
https://www.instagram.com/p/BO2g9dTjTRU/
Wasn’t that mirror chrome gel nails tutorial really easy? I’m sure you can do it yourself at home now!
Need more guidance? Check out the video by Hello M below:
If you have no UV lamp or the appropriate polish for gel nails, you can try nail polishes with a chrome finish! Just don’t forget to use a water-based topcoat to retain the mirror-like shine.
Will you try your hand at creating cool chrome gel nails after reading this tutorial? Please share your thoughts in the comments section below!
Up Next:
- Party-Ready Metallic Nails For Winter Gatherings
- How to Remove Gel Nail Polish | Nail Design Tutorial
- Nail Biting | Everything You Need To Know
Follow us on Facebook, Pinterest, Twitter, and Instagram.
Editor’s note: This post was originally published in January 2016 and has been updated for quality and relevancy.