Wear these metallic nails for your Christmas or New Year’s party and you’ll definitely get kissed! After all, isn’t Winter a time for festivities and magical romances?
Winter brings in lots of parties and gatherings! Therefore, you have to be prepared when it comes to the perfect outfit, makeup, and accessories. And when it comes to party looks, you can never go wrong with glittery, shiny styles. These metallic nails are perfect for Winter gatherings!
Must Try Metallic Nails Tutorial For Winter Parties
When it comes to Winter, glitters and sparkles are the way to go! Christmas tree, lights, and luminaries all bring happiness to everyone. However, shiny winter things aren’t just confined to decorations. You can definitely wear them on your nails as well!
Chrome nails have been a trend in the nail art world for awhile and they’re just perfect for this season! The cool thing about it is you can try several different ways to get metallic nails. Metallic nail polishes are the easiest way to go without requiring special equipment but they may not be the best.
I personally think that rubbing on chrome powder on gel nails then curing it under UV light is the best way to get mirror-like metallic nails. However, if you love metallic nails but prefer hassle-free application, buying Sally Hansen’s Color Foil would be a sound investment. You can even experiment with different colors!
Try out this metallic nails tutorial to get party ready during Winter!
What you’ll need for this metallic nails tutorial:
- Sally Hansen Color Foil in Sterling Silver
- Sally Hansen Hard As Nails, Xtreme Wear, White On
- essie No Chips Ahead Top Coat
- PUEEN Latex Tape Peel Off
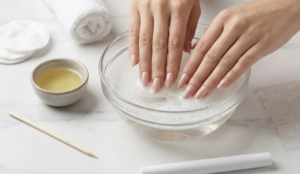
Step 1: Prep And Apply White Base

It’s always a good idea to prep your nails properly before starting on a new nail art. Apply a base coat that will protect your nails well from the chemicals that you’re about to introduce to it.
After prepping your nails, apply a sufficient coating of Sally Hansen’s Xtreme Wear, White On. You can also protect the skin around your nail from the excess polish with PUEEN Latex Tape Peel Off. This will be so easy to peel off when you’re done! Trust me, this will make cleaning up so much easier.
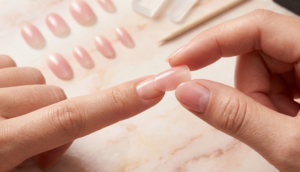
Step 2: Get Your Chrome On
Now it’s time to get your metallic nails on! The best way to achieve that mirror effect without having to use gel polish, chrome powder and UV lamp, at least for me, is to use Sally Hansen’s Color Foil. For less than $7 you’ll get the highly sought after metallic nails this season! This product comes in different colors – including Rose Copper, Minted Metal, Leaden Lilac, and Titanium Flush – for those who opt to experiment with other shades other than silver.
Applying this may be a bit tricky. Just to make sure you get full coverage, paint on two coats of the Color Foil. You can actually see the polish become shinier with every coating!
Step 3: Protect Your Metallic Nails

Metallic nails that don’t have gel as its base might not last very long. To keep them on your nails longer, apply a water-based top coat. Normal top coats will only make the nails dull, but using a water-based product will help keep its sheen.
Step 4: Take Out Excess Polish
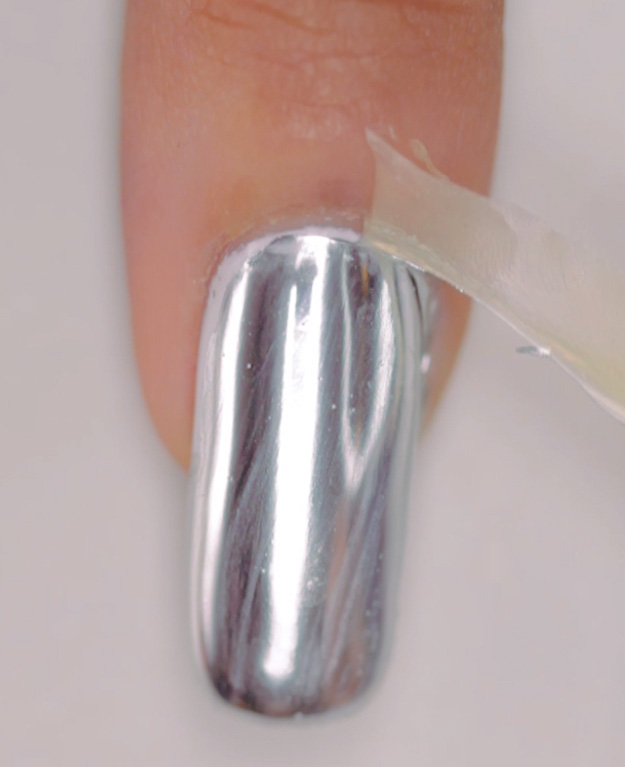
Remember that liquid latex I suggested you put on around your nails earlier? All you have to do now is peel it off, leaving you with clean cuticles!
Now you’ve got perfect metallic nails ready for Winter parties!

Check out my full video tutorial below!
Not a huge fan of plain silver metallic nails? Try green, rose gold, or even multi-colored shades as well! You’ll definitely find the color for you!
If you would like to try getting longer-lasting chrome nails, you might want to try gel-based metallic nails that use chrome powder. Let me know which method you prefer in the comments section below!
Looking for more Holiday nails? Pick the best nails for you from these red and white nails!
Check out my Facebook, Instagram and Pinterest for more nail trends and designs!