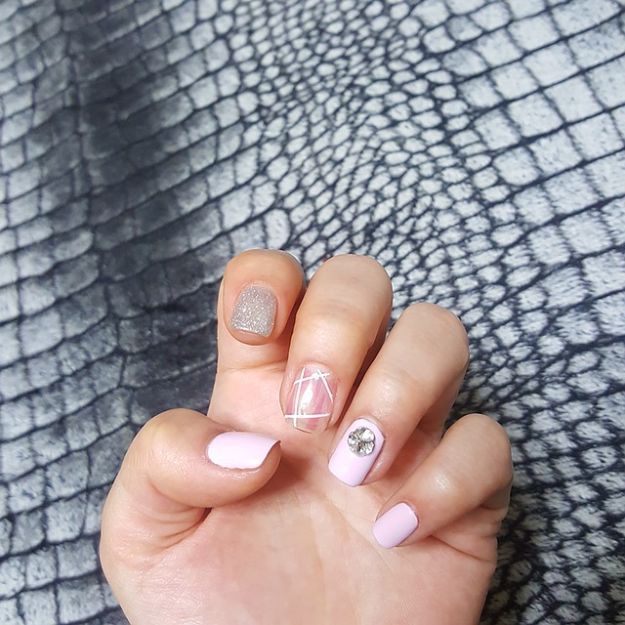
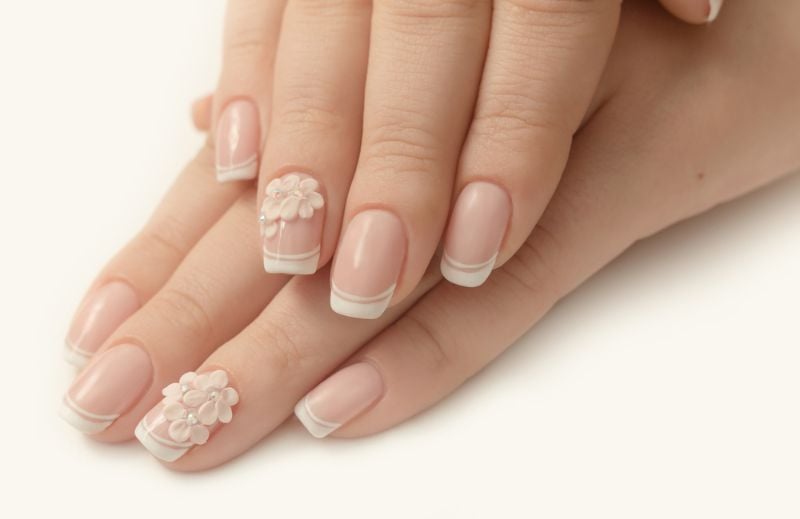

Are you a 3D nail art fan? Time to adorn your nails in a creative way! If you want to learn a new sweet nail art, then you’ll love this tutorial from Cutepolish!
3D Nails: Cute 3D Bow Nail Art Tutorial
Tutorial | The Sweet 3D Nail Bow
3D Nail Art is a 3 dimensional art that can be done with various molds. Today, we’ll share this simple yet adorable 3D nail design that will remind you of sweet candies and everything sugary — pastel colors, leopard print, bow, and everything nice.
Let’s start, shall we?
You’ll need the following:
- Zoya Anchor Base Coat
- Formula X Alive
- Zoya Ziv
- OPI Alpine Snow
- Formula X Extraordinary
- Zoya Armor Top Coat
- KISS Nail Art Glue
- 3D Rhinestone Bows
Step 1
Let’s start by applying a base coat on your nails.
Tip: Always remember that it’s important to apply base coat before your polish. This helps protect your nails from the pigment colors of your polish stain them.
Step 2
Choose your favorite pastel pink polish and paint your index, pinky, and thumb.
Step 3
Next, choose a metallic gold for your ring finger. This will make a great background for your bow to be placed on.
Step 4
Finally, use the white polish to paint your middle finger.
Step 5
Now for the leopard print, just use the brush on your pink polish to dab a few random spots.
Tip: Make sure to space them out. You can make about 3-4 spots.
Step 6
Using a grey polish, place a blob of it on a tin foil and then use a toothpick to dip into it.
Step 7
Apply this around the pink polish to finish the leopard spots. Make sure you only outline them partially. Don’t forget to add a few grey spots to tie the whole nail together.
Tip: We’re using a grey polish instead of black because this color gives the overall design a softer look.
Step 8
For the gold studs, just add a little top coat on the pink nail and then pick up the gold stud with a toothpick. Press it firmly on the nail.
Step 9
Now, add a top coat on all your painted nails for the finish shine. This will also make sure your studs won’t easily be removed.
Step 10
For the final step, use a nail art glue to adhere the bow on your nail. Just add a small drop to your nail and press the bow on it. Give it a few minutes to dry.
And you’re done!
You’ll definitely get a lot of compliments with this pretty 3d bow nail design. We hope you love this tutorial! See you on our next nail art design update.