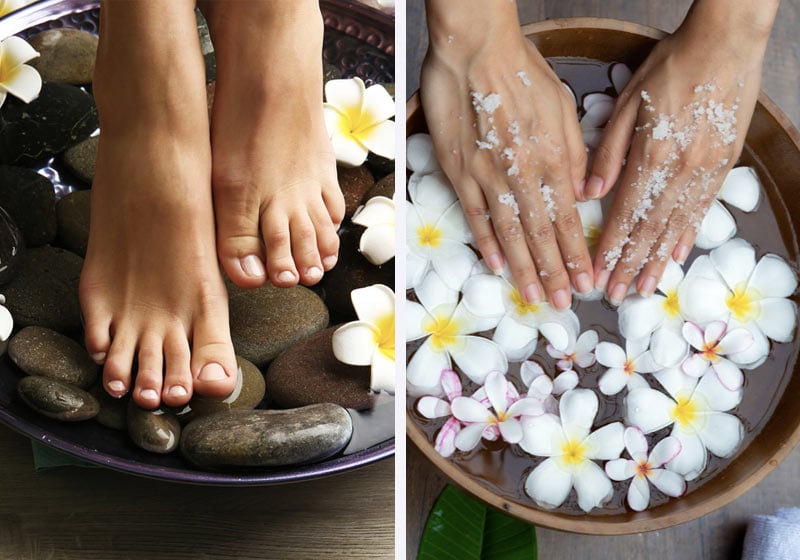

Last Updated: July 2026
The Quick Answer
A hand and foot spa at home means a warm soak, a scrub to remove dead skin, a moisturizer massage, and a basic manicure and pedicure to finish. Budget forty-five minutes for both hands and feet. Skip the soak if you have diabetes or an open cut, and push your cuticles back instead of cutting them.
Key Takeaways
- Push cuticles back. Don’t cut them. Cutting removes the barrier that keeps bacteria out.
- Dilute essential oils, or skip them if your skin is reactive.
- Skip the soak entirely if you have diabetes or nerve damage in your feet. Wash and dry instead.
- A base coat and full dry time between polish coats prevents most early chipping.
- Rough heels respond better to a scrub repeated over a few days than one hard scrub.
Who This Is For
- Skill level: no experience needed
- Time: 25 minutes for one (hands or feet), 45 for both
- Season: works year-round, most useful before sandal season and during dry winter months
- Occasion: weekly upkeep, pre-event prep, or a family spa night
- Tools: a basin, towel, salt, moisturizer, and basic nail tools (full list below)
- Skip or modify if: you have diabetes, neuropathy, an open cut, or an active skin infection. Talk to your doctor about what’s safe for your feet before you soak anything.
5 Easy Steps To Do A Hand And Foot Spa At Home
Across the globe, social distancing and the closure of all but essential businesses are practiced. This means one thing for us nail design lovers. A hand and foot spa in our favorite salons is for the moment, out of reach.
Luckily, you don’t have to go to a salon to get one. Follow these steps and you can create a salon level hand and foot spa experience in the comfort of your home!
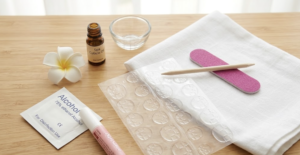
Before we start the actual process, gather the essential equipments and ingredients. Here’s what you’ll need:
- Plastic tub
- Warm water
- Towel
- Salt (Epsom or Sea Salt)
- Baking soda
- Essential oils (Lavender, Eucalyptus, or Peppermint)
- Scrub mixture
- Moisturizer
- Exfoliating brush (optional)
If you want to give yourself a manicure and pedicure to complete your at-home foot and spa treatment, you will also need:
- Nail clippers
- Cuticle Pusher
- Nail File
- Nail Polish Remover
- Nail polish of your choice
- Nail Brush
RELATED: 43 Amazing Manicure Hacks You Should Know
Creating Your Own Hand and Foot Spa Scrub Mixture
If you don’t have a store-bought scrub mixture at your disposal, worry not. Here are my favorite homemade hand and foot spa scrub mixtures that you can recreate. Feel free to alter the measurements to your liking. DIY Mani-Pedi Peppermint Salt Scrub Mixture
View this post on Instagram
For this scrub you’ll need:
- Coconut oil
- Epsom salt or sea salt. You can also use sugar.
- Peppermint Oil
- Baking Soda
Lemon Sugar Hand and Foot Spa Scrub MixtureFor this scrub you’ll need:
- 1 tablespoon of Lemon juice
- 1/4 cup Extra Virgin Olive Oil
- 3/4 cup White Sugar
Coffee Hand and Foot Spa Scrub Mixture
For this scrub you’ll need:
- 1 tablespoon of Coffee Grinds
- 1 tablespoon of honey
- 1 tablespoon of cinnamon powder
- 1 tablespoon of coconut oil
- 1 tablespoon of Epsom salt or sea salt
Creating A Relaxing Ambiance
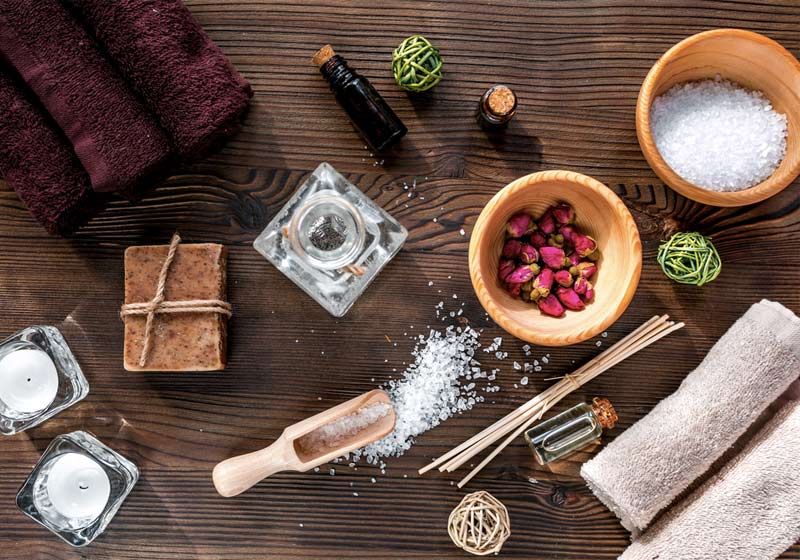 A relaxing and invigorating ambiance plays a vital role in the overall experience of your hand and foot spa.Pick a spacious and comfortable space at your house, light some candles, fill the room with essential oil mist using a diffuser, and play on classic or nature sounds to achieve that zen feeling!With all the essentials taken care of, let’s begin!
At-Home Hand and Foot Spa: A Step by Step Guide
The following steps can apply for both your hands and feet. Treating which one first is totally up to you but I recommend starting with your feet like a true professional.
1.) Start Clean
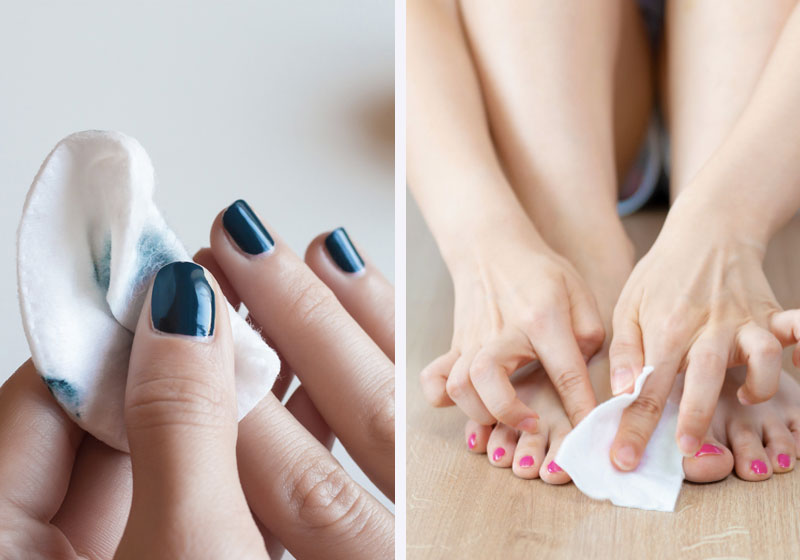 If you have any previous nail polish, do yourself a favor and use a nail polish remover to give yourself a blank canvas to work with for the upcoming manicure and pedicure. I recommend using a non-acetone remover because acetone can be quite harsh on your skin.
2.) Prepare Your Hand and Foot Spa Soak
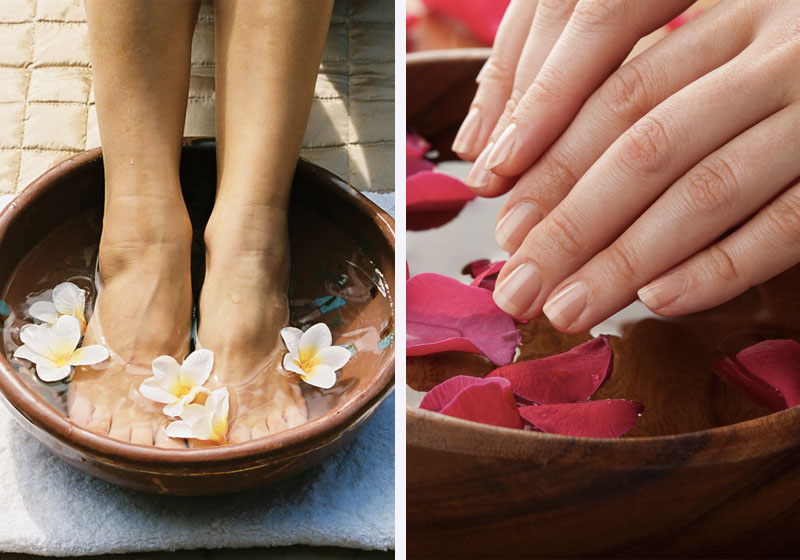 Fill your plastic tub with warm water. Make sure the tub is tall enough for you to submerge your feet or hands completely. Put 8-10 drops of the essential oil of your choice. After that, add in the baking soda and salt. This will act as the cleansing agent for your feet.For your foot soak, you can also spice things up by adding marbles at the bottom of the tub. Soak your hands or feet for about 10-15 minutes and of course, relax! Enjoy the zen ambiance you’ve worked so hard to achieve.
3.) Scrub Impurities Away!
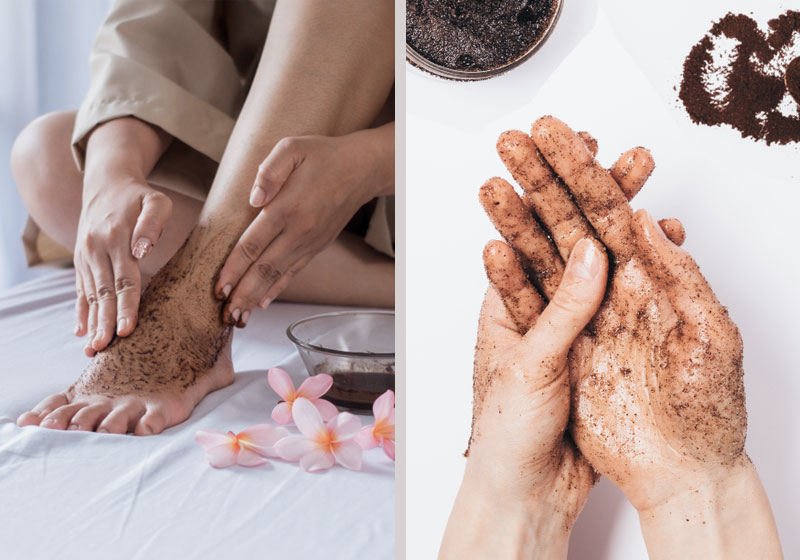 Once the 10-15 minutes of soaking and relaxation is done, it’s now time to remove stubborn dead skin cells! Apply your scrub mixture generously and scrub gently using an exfoliation brush. If you don’t have an exfoliation brush, your hands or a simple toothbrush will do just fine. For your feet, direct more effort on the heels, where the skin is most calloused.Rinse it off with the remainder of your soak water. RELATED: Nail Hacks | How To Dry Nail Polish | Quick And Easy
4.) Moisturize and Massage
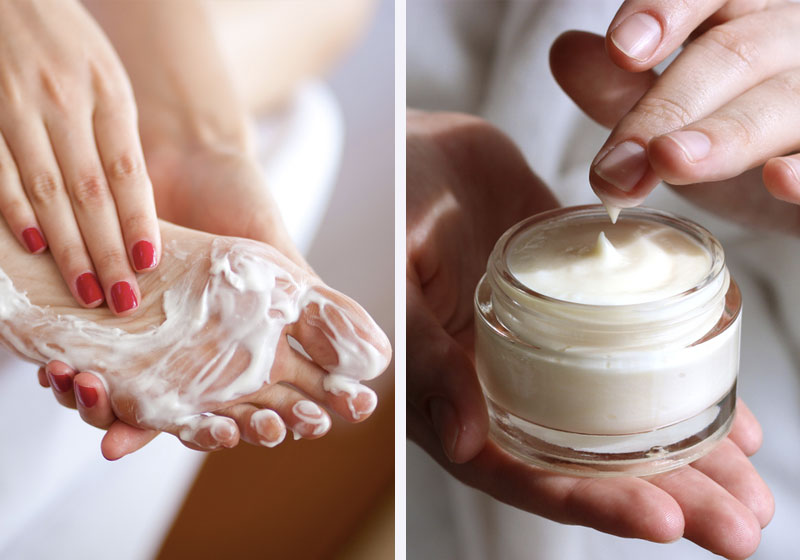 After the thorough scrubbing, pat your feet or hands dry with a clean towel, then apply moisturizer all over. While applying moisturizer, massage your feet or hands gently. Doing this will loosen muscle tension and improve blood circulation.
5.) Time for a DIY Mani-Pedi
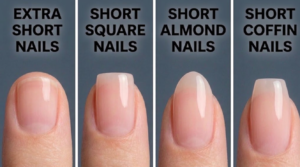
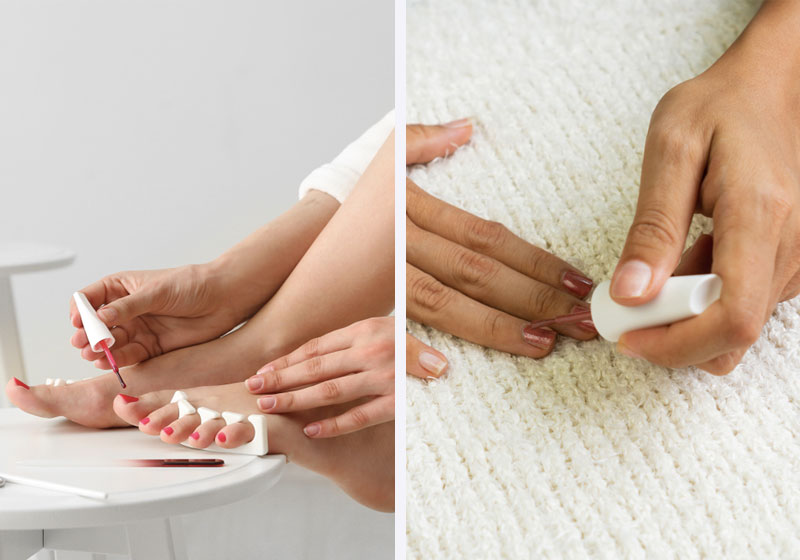 Show your nails some love by treating them with a manicure and pedicure!Start by brushing your nails around and under to clean any residues of the scrub. Clip nails if necessary, then file gently to achieve your desired nail shape. Next, push the cuticles gently with a cuticle pusher. The hand and foot spa soak water should’ve helped soften your cuticles so doing this should be easy. Avoid cutting your cuticles as it protects your nails from bacteria. Before you put on your favorite color or design, apply a base coat. This will create an even surface for your polish and it prevents chipping. Next, apply your favorite polish in layers. Let the polish dry completely before putting another coat. Two coats of your favorite color are enough, finish it off with a matte or glossy finish!And there you have it! These 5 easy steps are all you need to do for a salon-like hand and foot spa experience! You can add in a few steps here and there for a more luxurious experience! It’s your spa after all.Let me know your feedback in the comments section below!
What Might Go Wrong (And How to Fix It)
If a nail chips within a day → you skipped the base coat, or moved to the
next coat before the last one fully dried.
If cuticles look torn instead of neat → they were too dry to push. Oil them
daily for two days, then try again.
If heels are still rough after one round → repeat the scrub on 2 to 3
consecutive days instead of pressing harder in a single session.
If any area still hurts the next day → stop applying polish or remover to it
and let it heal. See a doctor if it hasn’t improved in a few days.
Different Nights, Different Version
The 20-Minute Version. Skip the soak. Scrub dry skin with a damp washcloth, moisturize, then go straight to nails. Good for a weeknight.
The Cracked Heel Version. Scrub two nights in a row before you moisturize. Use a thick, unscented cream and wear socks to bed after the second night.
The Sensitive Skin Version. Drop the essential oils, or dilute a couple of drops into a carrier oil instead of adding them straight to the water. Patch test on your inner arm the day before if fragrance has bothered you in the past.
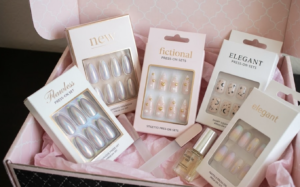
The Press-On Finish. Once nails are clean, dry, and oil-free, skip step five’s polish and press on a pre-sized set instead.
The Family or Teen Version. No acetone, no e-file, no professional tools. Non-toxic polish only. Price and safety info stay visible before anyone opens a bottle.
Common Mistakes to Avoid
- Cutting cuticles instead of pushing them. It opens the skin’s natural barrier against bacteria.
- Adding essential oil straight to the water with no patch test, especially citrus oils, which can react with sun exposure and cause burns or dark spots.
- Soaking at all if you have diabetes or neuropathy. Wash and dry instead, and ask your doctor what foot care routine fits your health.
- Guessing at water temperature. Test it on your wrist before your feet go in.
- Applying a second polish coat before the first is dry. It smears, and you start over.
- Buying a dedicated foot spa tub before you’ve tried a plastic bin. You don’t need one just to do this once.
What’s Actually Worth Buying
Most of this routine runs on things you likely already own. If you’re shopping: look for a moisturizer thick enough to leave a slight film after rubbing in, a cuticle oil rather than a cuticle cream for the pushing step, and a non-acetone remover, since acetone dries skin along with old polish.
Affiliate disclosure: some product links on this page may earn Nail Designs a commission at no extra cost to you.
FAQs
Should I cut my cuticles or just push them back? Push them, with a cuticle pusher or orange stick. Cutting removes the barrier that keeps bacteria out.
Is it safe to add essential oils directly to my foot soak? Dilute them in a carrier oil first, or patch test on your arm a day ahead. Undiluted oil, especially citrus, can irritate skin or react with sunlight.
Can I do a foot soak if I have diabetes? Skip the soak. Wash your feet with mild soap for under a minute, dry well between the toes, and moisturize instead. Ask your podiatrist what fits your specific health needs.
How long does this whole routine take? About forty-five minutes for both hands and feet, twenty-five for just one.
How often should I do this? Once a week keeps calluses and rough heels from building back up. Twice a week if your skin runs dry.
My nails chipped two days after I painted them. What happened? Most early chipping traces back to a skipped base coat or a second coat applied before the first one dried. Try again with a full dry time between coats.
Source:
- University of Utah Health, “The Danger of Cutting Your Cuticles” (Dr. Erika Summers, dermatologist), 2024. https://healthcare.utah.edu/healthfeed/2024/06/danger-of-cutting-your-cuticles
- NBC Select, “Should You Trim Your Cuticles? Experts Weigh In” (Dr. Michelle Henry, Dr. Anetta Reszko), 2025. https://www.nbcnews.com/select/shopping/should-you-cut-your-cuticles-rcna247610
- Tisserand Institute, “Dilution for Essential Oils.” https://tisserandinstitute.org/dilution-essential-oils/
- Harvard Health Publishing, “Could Tea Tree Oil Help Treat Acne or Athlete’s Foot?” 2025. https://www.health.harvard.edu/healthy-aging-and-longevity/could-tea-tree-oil-help-treat-acne-or-athletes-foot
- MedlinePlus (National Institutes of Health), “Diabetic Foot.” https://medlineplus.gov/diabeticfoot.html
- Healthline, “Epsom Salt and Diabetes: How to Find Relief.” https://www.healthline.com/health/diabetes/epsom-salt-and-diabetes
Up Next: