
Last Updated: July 2026
Keep your next manicure savvy with these chic tri-color nail art ideas!
Whether you want a chevron design, swirls, or just simple blocks on your nails, you can try all of those with a tri-color nail art!
With this design, you don’t have to agonize over which polish you’ll use for your new manicure. Pick out three of your favorites and you’re good to go!
Tri-color nail art means using three polish colors on each nail in a repeatable pattern: blocks, a swirl, a chevron, or negative space. Most designs take 25 to 40 minutes for a full set once you’ve done one nail. Striping tape gets you the cleanest lines if you’re new to this.
Key takeaways
- Three colors, one pattern, repeated across ten nails. That’s the whole format.
- Striping tape is the tool that separates a clean tri-color set from a smudged one.
- Contrasting colors (blue, green, violet) read differently than a matched palette. Pick on purpose.
- Block and swirl patterns are the two easiest starting points. Chevron takes more practice.
- A wet-on-wet swirl needs to happen before your base color sets. Timing matters more than steadiness here.
Best for
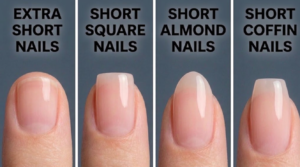
- Nail length: Short to medium. Long nails give chevron and negative space more room, but block and swirl work at any length.
- Skill level: Beginner to intermediate. Blocks and swirls are beginner-friendly. Chevron and negative space reward some prior polish experience.
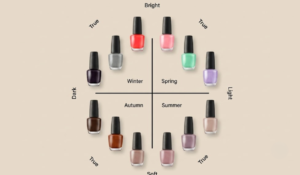
- Season: Any. Pastels lean spring, jewel tones lean fall, red-blue-gold works for a specific July holiday and not much else.
- Occasion: Everyday wear, a weekend look, or a themed event.
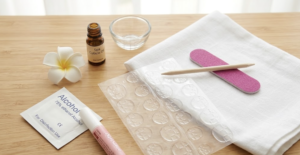
- Tools required: Base coat, three polish colors, striping tape, a fine dotting tool or toothpick, top coat. A thin liner brus
11 Tri-Color Nail Art Designs Perfect For Every Fashion Savvy Lady
Tri-color nail art design can be pastels, dark colors or even metallic polishes. Whatever fashion trend you’re following, this design will compliment your outfit and makeup with its simple but savvy shapes.
Check out the designs you can recreate below!
1. Block Tri-Color Nail Art
This design is so easy to do! You just need your three pastel colors, striping tape, and top coat ready and you’ll have this gorgeous design! Learn how to create this here.
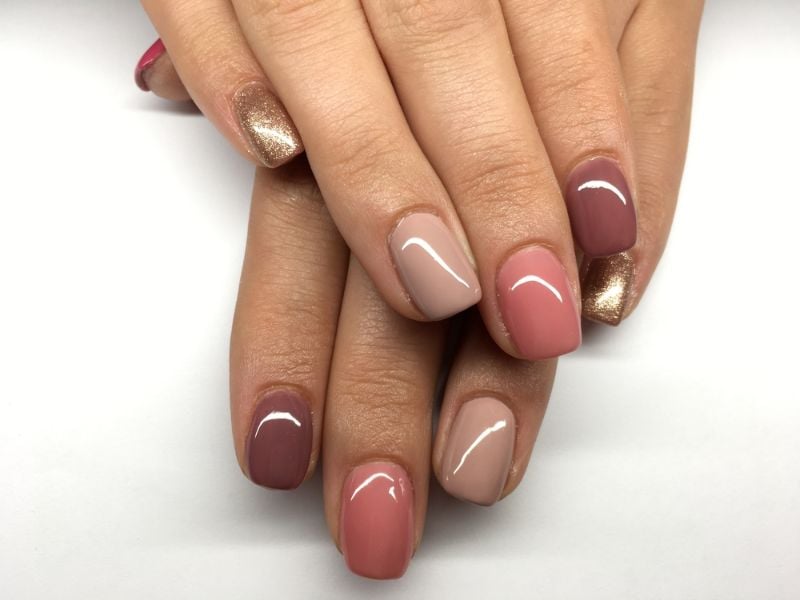
2. Red, Taupe, Black
With fall coming up, this red, taupe and black design from OPI will definitely warm your fashion enthusiastic heart up so much!
3. Retro Tri-Color Nail Art
Essie’s Fall collection is a throwback to 90s grunge. Get with the program and try out this retro-styled tri color nail art!
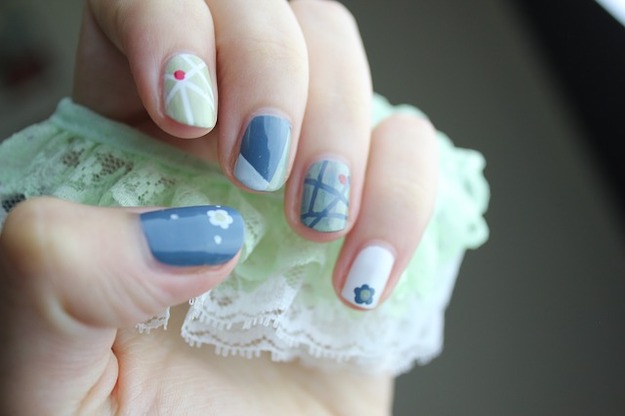
4. Blue, Green, Violet
The three colors you’ll use don’t have to be in the family. You can contract colors and see how well those shades work together!
5. Unusual Chevron
Chevron designs are all the rage in the fashion world! Join the trend with a chevron design of your own. It doesn’t even have to be fixed lines and blocks!
6. Pastel And Gold
The gold polish will definitely stand out when grouped with pastel-colored polishes!
7. Red, Blue, Gold
Remember color compliments? This is also a great example of mixing and matching colors. Plus, you can even use it for July 4th or similar celebrations!
8. Swirl
Not really into all those chevron and negative space designs? Try this swirl tri color nail art design. You only need your three polishes, plus a toothpick for this one! Learn how to make it here!
9. Negative Space
There’s something about negative space nail art that makes it so chic! You can even decide what design you’ll have on each finger.
10. Triangles
Using blue and orange with white as background, this cute triangle design is perfect for a day spending time with friends.
11. Golden Lighting
Using black and white really makes the golden lightning bolt standout, don’t you think?
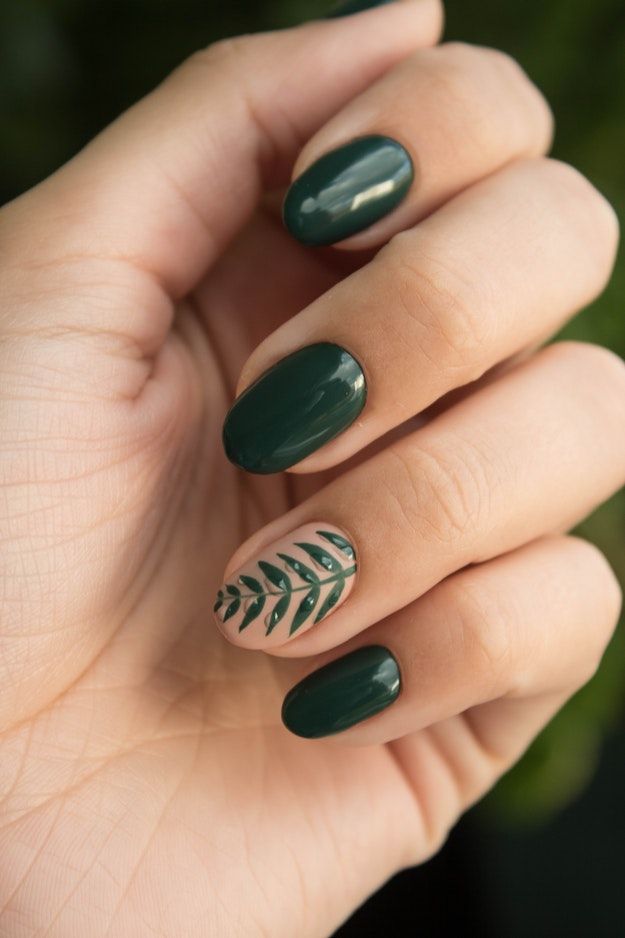
Aren’t these tri-color nail art ideas easy to follow and recreate? Try one yourself with this golden lightning bolt tutorial from Janelle Estep!
Mistakes to avoid
- Skipping the base coat. It’s not optional. It’s the layer that keeps color from staining your natural nail and keeps the whole set from chipping early.
- Painting your second color before the first is dry. This is the single most common cause of a muddy, bled line in tri-color work.
- Using striping tape on a wet base. Tape pulls up wet polish along with it. Wait for a full dry, then apply tape, then paint.
- Trying chevron or negative space as your first tri-color design. Start with blocks. Earn the harder patterns.
- Skipping top coat because the design looks finished. An unsealed tri-color set chips at the color-block lines first, since that’s where the surface is least even.
Product and tool notes
A few tools make tri-color work meaningfully easier, and none of them are expensive or specialized:
- Striping tape in a thin width (1 to 2mm) gives you the cleanest block and chevron lines. Wider tape works for simple two-band designs.
- A fine dotting tool or a clean toothpick is what you need for the swirl design. No brush required.
- A thin liner brush helps with freehand negative space work, but isn’t necessary for blocks, swirls, or tape-based chevron.
This article does not name specific brands. If you’re shopping for any of these tools, any drugstore or beauty-supply striping tape and dotting tool will do the job described above.
What’s the Verdict?
Block patterns are worth trying if you want a clean, repeatable look you can actually finish in one sitting. Chevron is worth it once you’ve done a few sets and your tape placement is steady. Skip a full ten-nail negative space set as a first attempt. It photographs well and takes longer to execute than it looks like it should.
FAQs
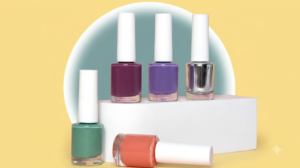
Do the three colors need to match or coordinate? No. Some of the strongest tri-color looks use colors that aren’t in the same family, like blue, green, and violet together. A matched palette reads calmer. Contrasting colors read bolder. Pick based on the look you want, not a rule.
Can I do a swirl design without a special tool? Yes. A toothpick works. Drag it through two wet colors while they’re still workable, before either one sets. This has to happen fast, within the first minute of application.
How long will a tri-color manicure last before it chips? With a base coat, careful drying between colors, and a sealed top coat, expect 5 to 7 days before tip wear starts, similar to a standard polish manicure. Tri-color sets don’t wear differently from a single-color set once they’re sealed.
Is chevron harder than block patterns? Yes. Chevron needs a straight, symmetrical peak on every nail, which takes more tape placement precision than a simple horizontal or diagonal block. Practice blocks first.
Can I use gel polish instead of regular polish for these designs? Yes. The same block, swirl, and tape techniques work with gel. Cure each color layer under your lamp before applying the next, following your gel system’s specific cure time.
What if I only want to try this on one or two nails, not the whole set? That’s a reasonable way to test a pattern before committing to ten nails. An accent-nail approach uses the same steps, just on fewer nails.
Have you found your tri-color nail design peg? Share your thoughts with me in the comments section below!Want to learn more chic nail designs? Learn to make this glammed up autumn nail art that’s perfect for the cold season!